
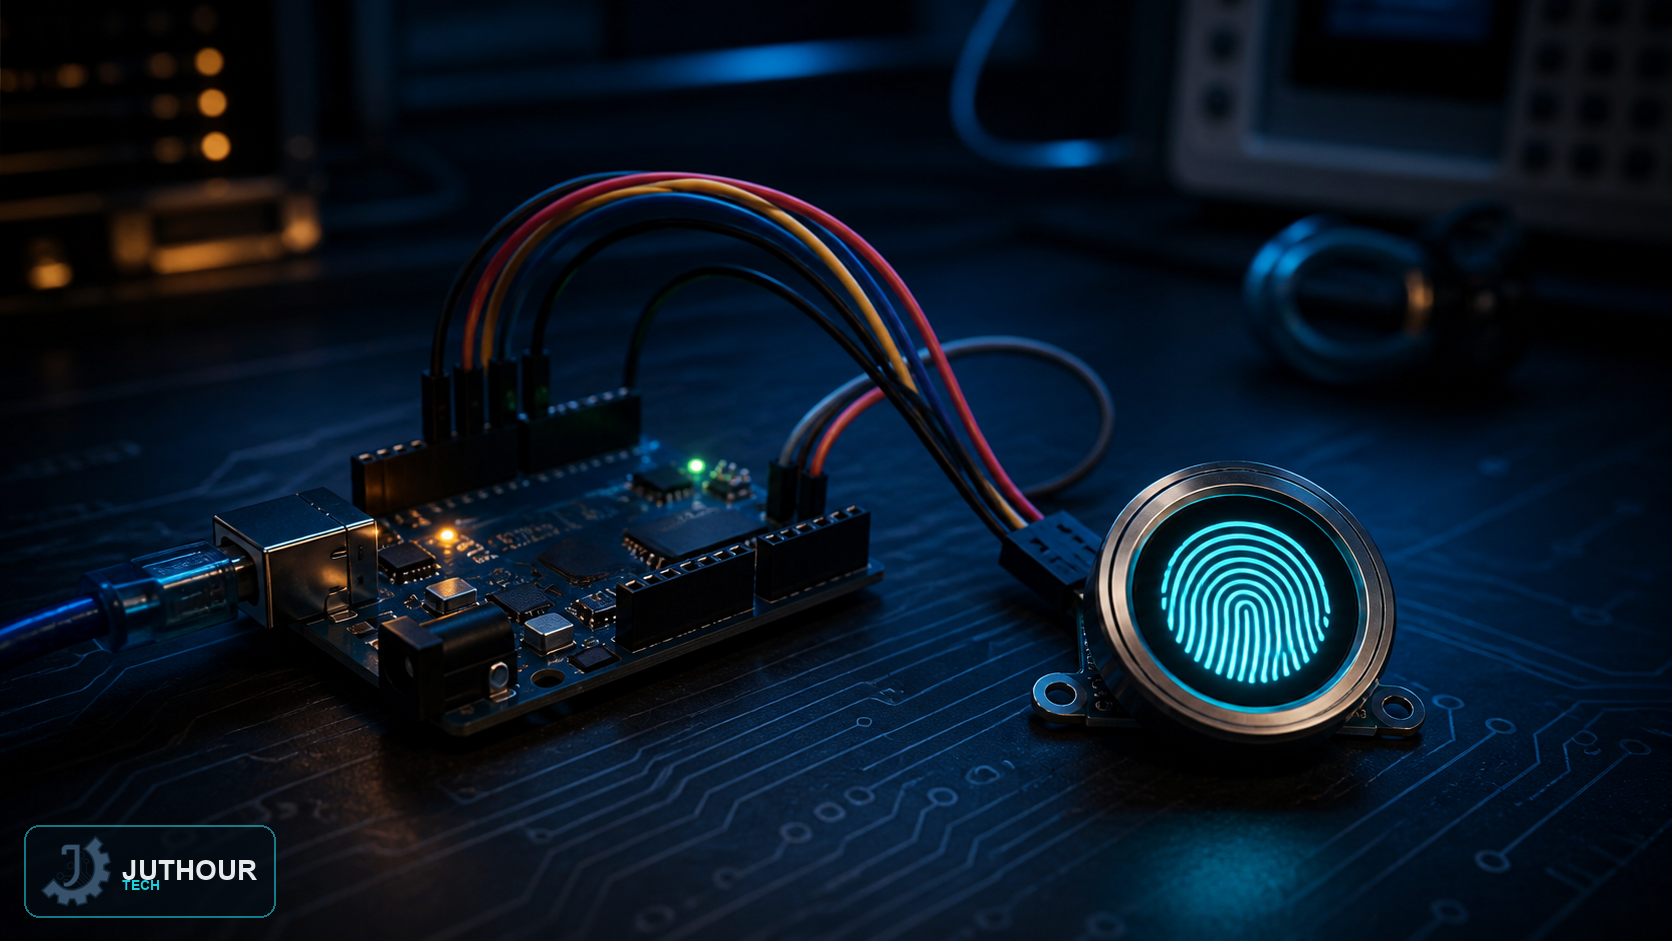
The FPM10A fingerprint sensor opens the door to biometric identity-verification projects with a simple Arduino, with no complex processing needed at the user level — the sensor handles everything internally.
Components needed
An Arduino Uno board, an FPM10A fingerprint sensor, and connecting wires.
Wiring it up
The sensor operates on 3.6 to 6V with current draw under 120mA, with a green backlight indicator. It communicates via serial UART at 9600 baud, with six pins: VCC (red) for power, GND (black) for ground, TX (blue) to send data to the controller, RX (green) to receive it, and an unused DNC (white) pin. The project uses the SoftwareSerial library on digital pins 2 and 3 to create this serial link separate from Arduino's main serial port.
How it works: enrollment and matching
The process has two stages: enrollment, where the sensor captures a fingerprint image and converts it into a searchable template, then stores it in its internal flash memory (holding up to 127 fingerprints) with a dedicated ID number; and matching, where the sensor runs a "fast search" that compares any new fingerprint against all stored templates, returning the matching ID number along with a confidence score reflecting match accuracy. Each ID number can be linked to a custom name in the code (like "Sara" or "Roaa"), displaying a personalized greeting on an OLED screen once the user is recognized — a complete practical example of identity verification.
You can find the FPM10A fingerprint sensor at Juthour Tech.
Leave your comment