
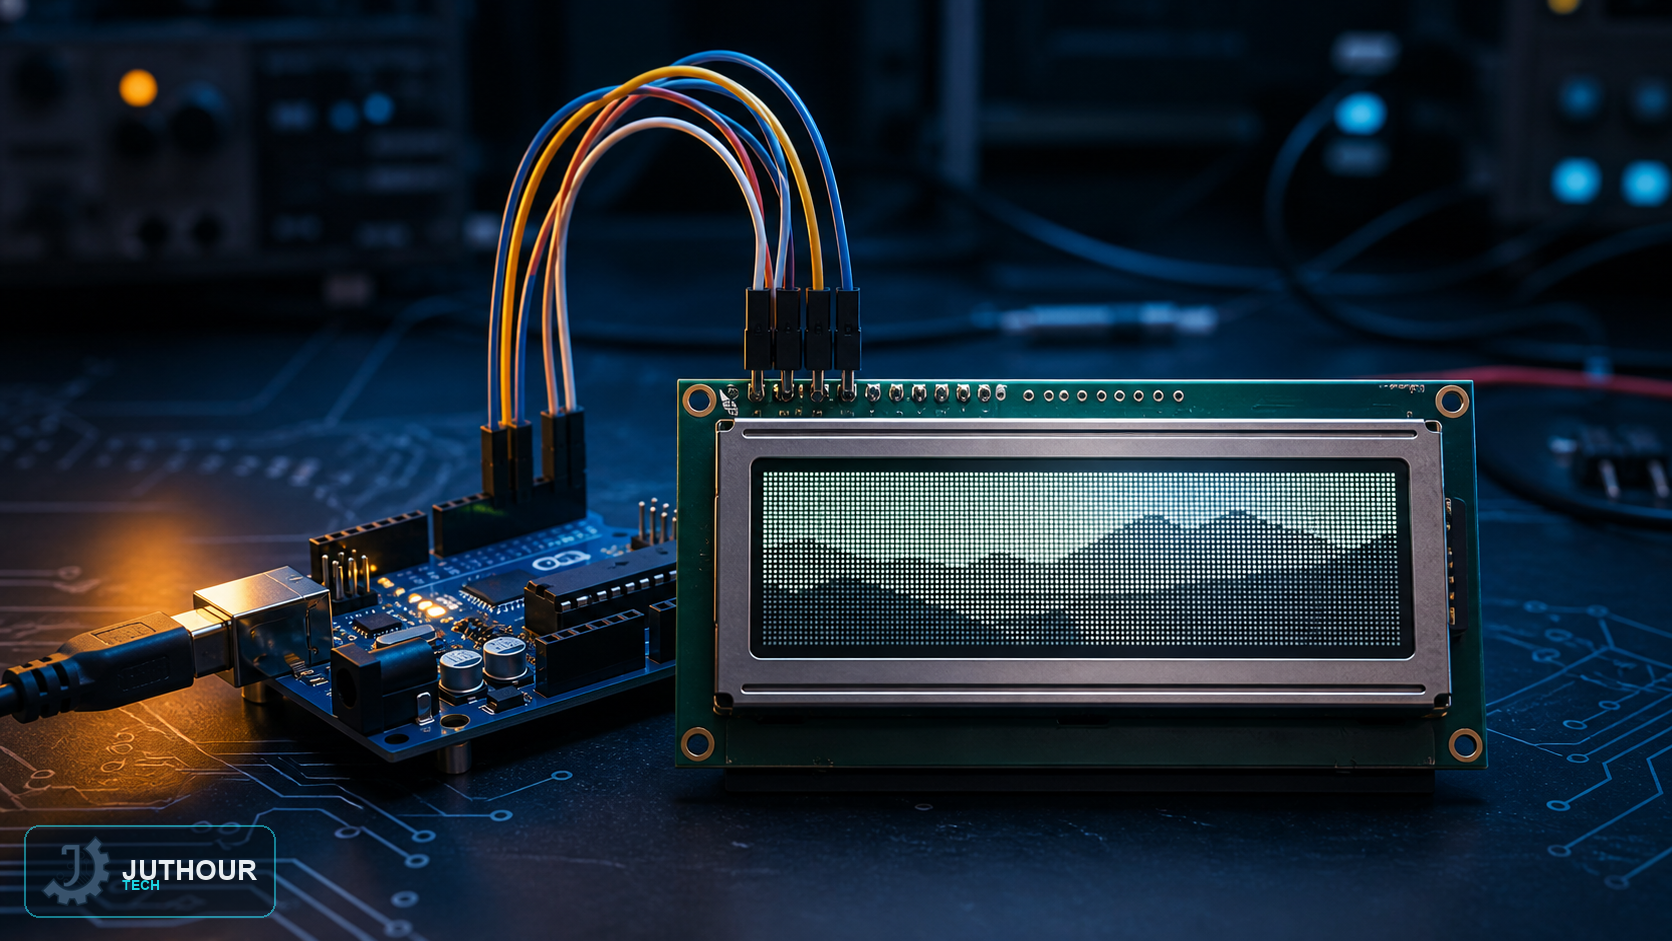
The Nokia 5110 is a monochrome dot-matrix display module, originally sourced from old Nokia phones, and it remains an economical, power-efficient choice despite its low resolution compared to modern options.
Components needed
An Arduino board, a Nokia 5110 display (running the PCD8544 controller chip), protective resistors (10k-ohm for most lines, and a 1k-ohm resistor for the CE line), and connecting wires.
Wiring it up
The display runs at 84x48 pixel resolution and a low 2.7 to 3.3V operating voltage, connecting to Arduino via the SPI protocol with five pins: CLK for clock, DIN for data, D/C to distinguish data from commands, CE to enable the chip, and RST for reset, typically connected to digital pins 7 through 3 respectively.
Programming it
The code relies on Adafruit's graphics library ecosystem: the general-purpose Adafruit_GFX library for drawing, and the Adafruit_PCD8544 library dedicated to controlling this specific display. The code creates a display object specifying the pins used, then renders text at various font sizes, with the ability to rotate the display orientation as the project needs.
You can find Nokia 5110 displays at Juthour Tech.
Leave your comment