
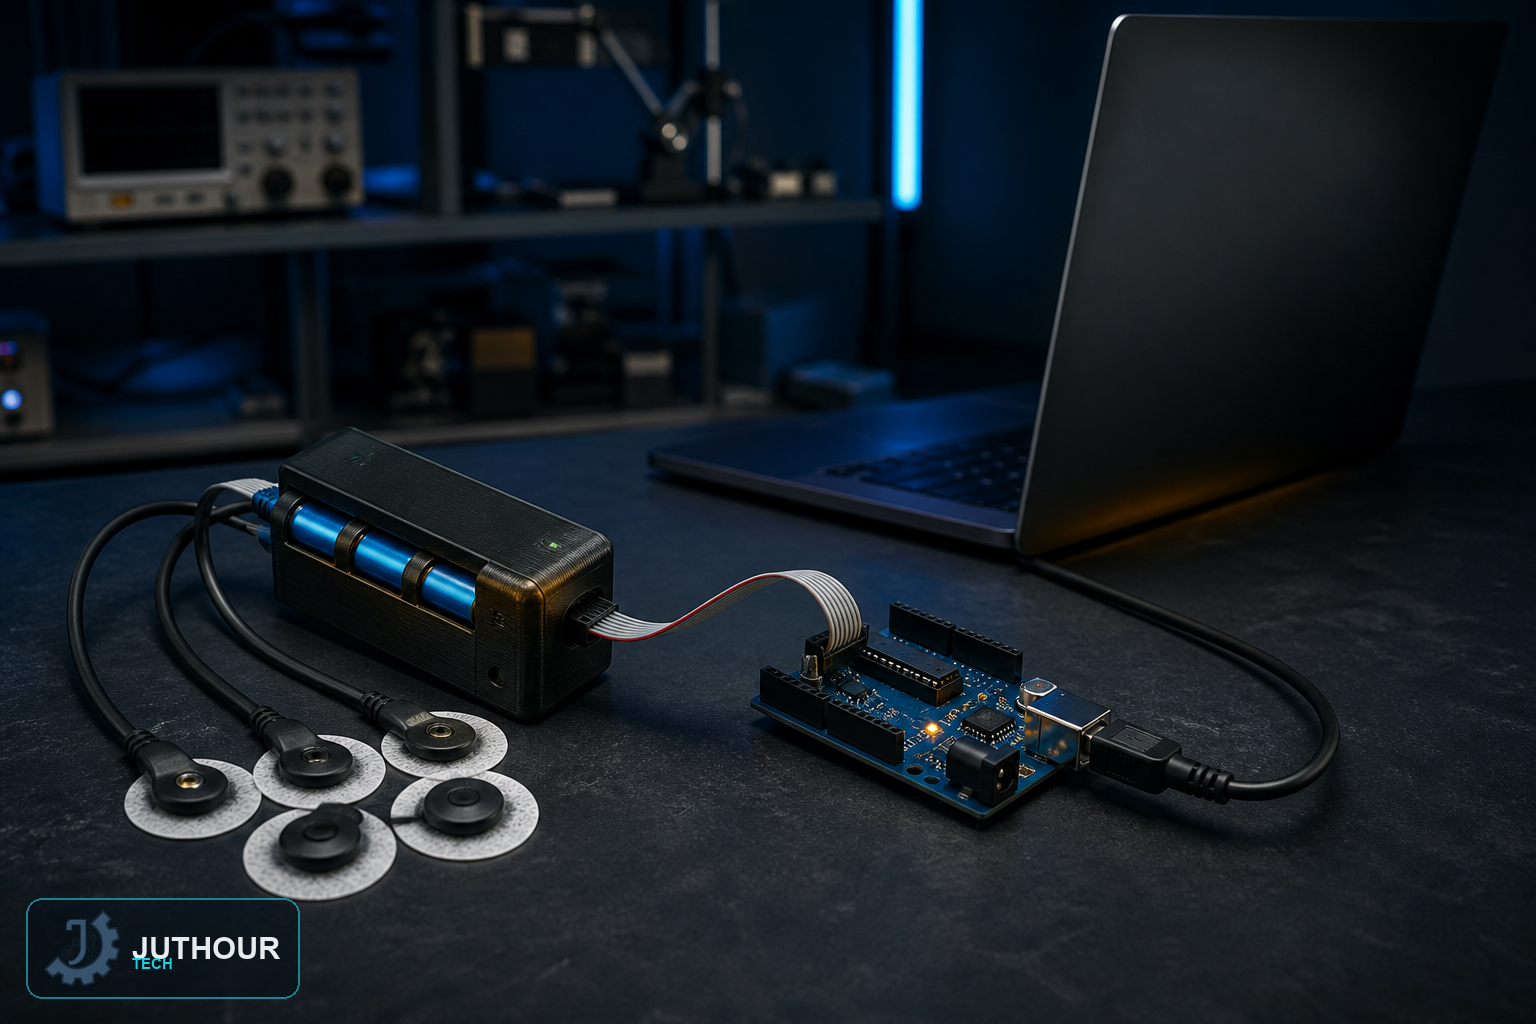
Read a supported EMG module with Arduino, filter the signal, and map calibrated thresholds to Unity controls over a documented serial protocol.
Prototype objective
The project focuses on sensing, state logic, feedback, and a low-voltage bench prototype that can be tested safely. Define user requirements, success criteria, and failure cases before considering any real deployment.
Suggested components
An Arduino Uno R3, an EMG (electromyography) sensor, male-to-female jumper wires, a breadboard, and a computer running the Unity game engine with the Uduino library installed.
Wiring and implementation
The EMG sensor's output connects to Arduino's analog input A0, with power and ground routed through the breadboard to complete the circuit.
Use a regulated supply and common ground, never drive loads directly from controller pins, and add current limiting, suitable interface stages, flyback protection for inductive loads, and logic-level conditioning as required.
Test plan
Use a battery-powered, body-safe sensor module exactly as its maker specifies. Calibrate per session, inspect noise and saturation, add a neutral state, and fail safely on serial loss.
Use limitations
Do not build electrode interfaces from bare hobby circuits or connect a body-worn sensor to unsafe power. This is a game input, not a diagnostic or rehabilitation device.
Next step
Document the schematic, library versions, calibration, measurements, and failure cases. Whenever the application involves safety, health, children, buildings, or equipment, use qualified specialists and applicable standards rather than relying on a hobby prototype.
Leave your comment