
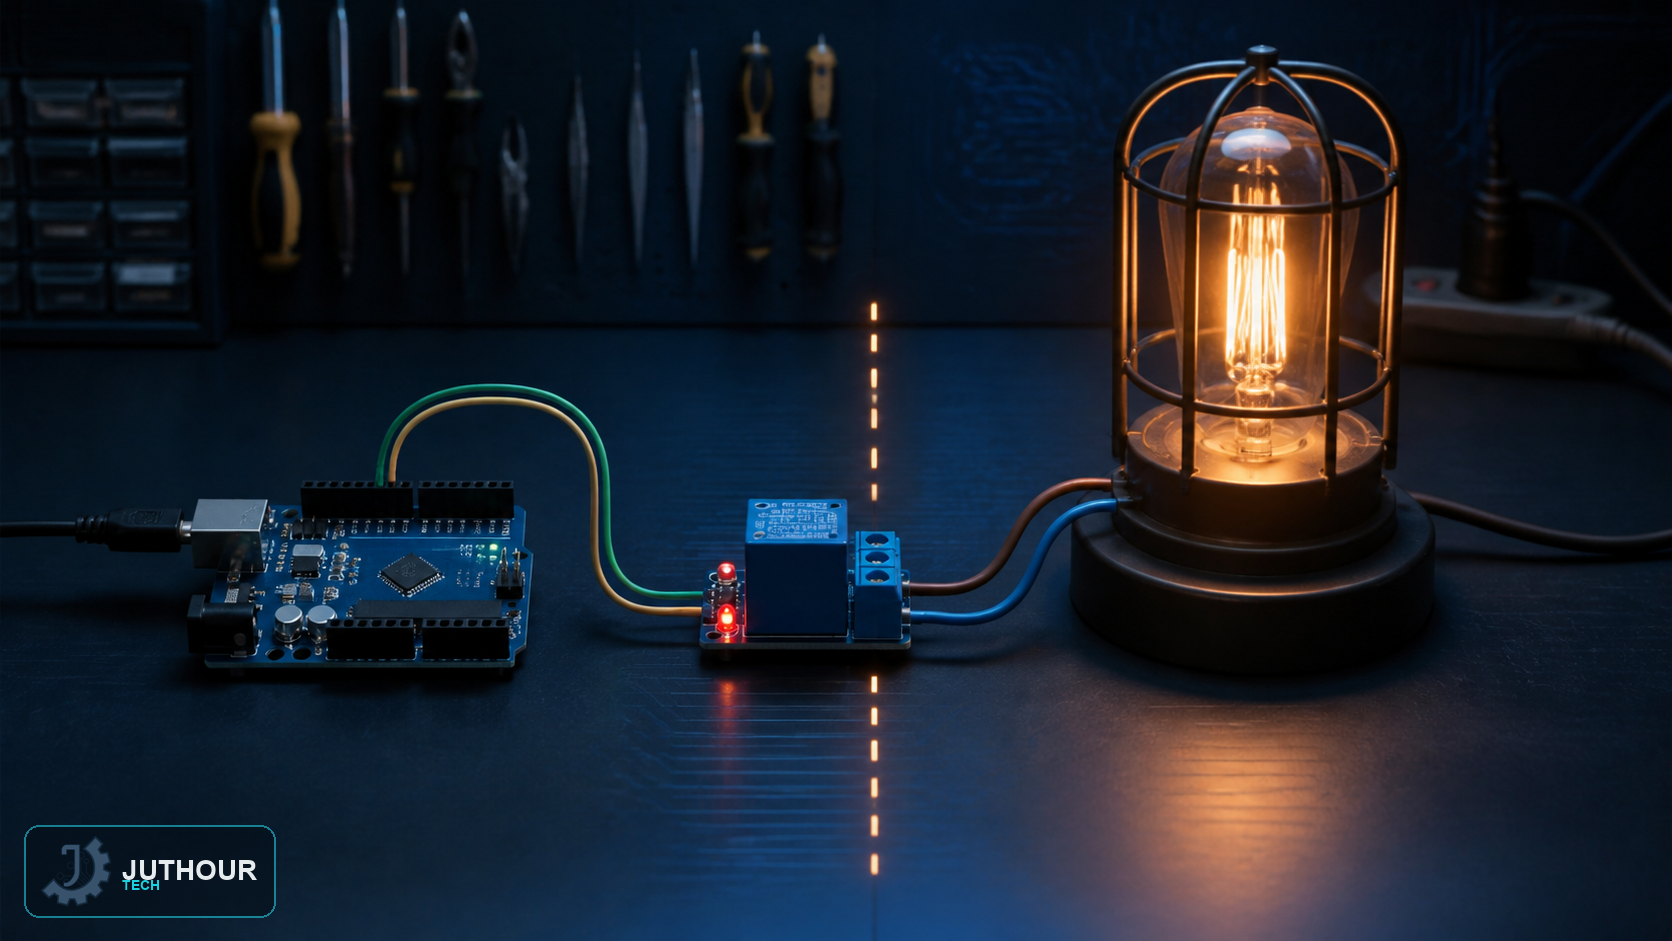
Unlike the multi-channel relay modules we covered earlier, a single-channel relay module focuses on the simplest possible scenario: controlling just one high-voltage device from a single Arduino pin.
Components needed
An Arduino board, a single-channel relay module, and the high-voltage device to be controlled.
Wiring it up
On the low-voltage side, the module connects with three pins: power (5V), ground, and a single digital control pin (pin 6 in the common example). On the high-voltage side, the module offers three contact terminals: COM (common), NO (normally open), and NC (normally closed), where choosing the right terminal determines whether the controlled device defaults to "on" or "off" before any signal is received.
How it works
The relay provides complete electrical isolation between the low-voltage control circuit and the high-voltage load circuit, with no direct electrical connection between them at all — only mechanical interaction through the electromagnetic coil. Some modules also offer multi-channel options (2, 4, or 8 channels) for projects needing to control several devices at once, with the channel count chosen to match the project's needs.
You can find single-channel and multi-channel relay modules at Juthour Tech.
Leave your comment