
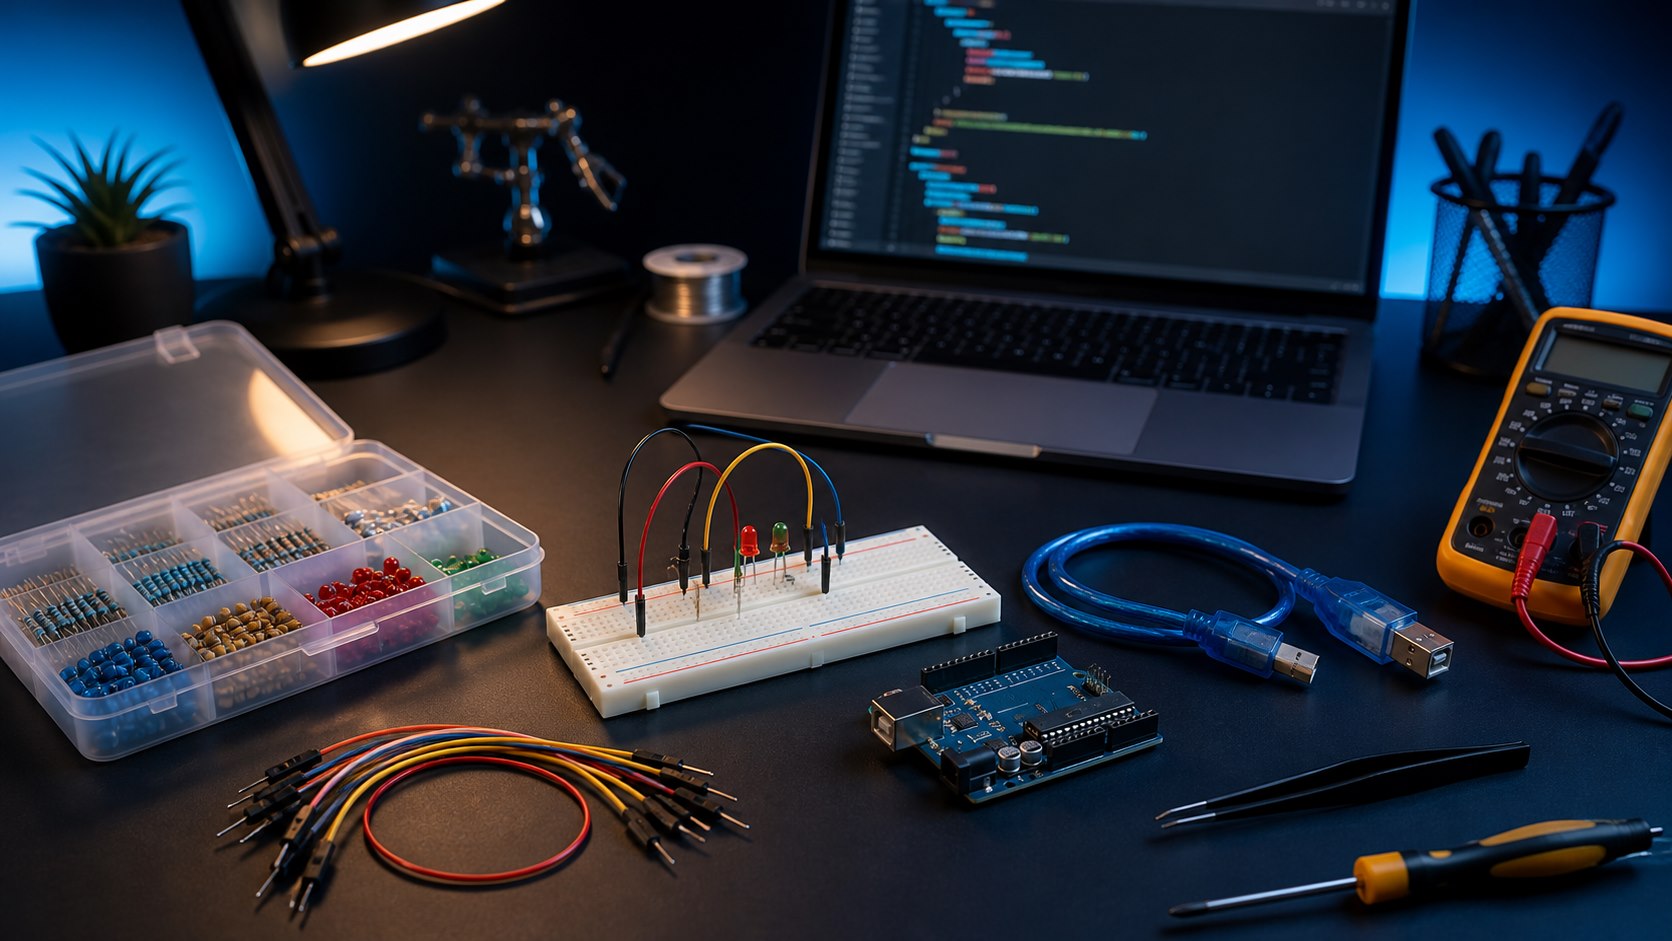
Before writing a single line of code for an Arduino board, you need to set up your workspace correctly. It sounds like a minor detail, but rushing through it is usually the source of most problems beginners run into. Here's the complete setup process from start to finish.
What you'll need
At minimum, you'll need an Arduino Uno board, a Type-B USB cable to connect it to your computer, a breadboard (an 830-point one is recommended) for wiring circuits without soldering, 220- or 330-ohm LED resistors, a few 10k-ohm resistors, jumper wires, and a few colored LEDs for your first hands-on test. A digital multimeter is also handy for checking circuits when needed.
Installing the Arduino IDE
The Arduino IDE is free to download from the official Arduino website and runs on Windows, Linux, and macOS. Download the current official installer or package for your operating system and follow Arduino's current installation instructions; the exact package and driver steps vary by OS and board.
Connecting and configuring the board
Once the IDE is installed, go to the Tools menu, select Board, and choose "Arduino Uno." On Windows, Device Manager may ask you to install the driver manually - you'll find it inside the Arduino installation folder. After the driver installs successfully, note the COM port that appears (the port that appears when the board is connected; its name varies by operating system), then go back to Tools > Serial Port and select that port number so the board is ready to receive code.
Once these steps are done, your setup is fully ready for uploading your first sketch and testing your first circuit. If you're looking for a genuine, reliable Arduino board to start your journey, you'll find one in the development boards section at Juthour Tech. Work on a non-conductive surface, remove power before changing wiring, and never drive a motor or other high-current load directly from a microcontroller pin. Trusted reference: Upload a sketch in Arduino IDE.Verify the connection methodically
Leave your comment