
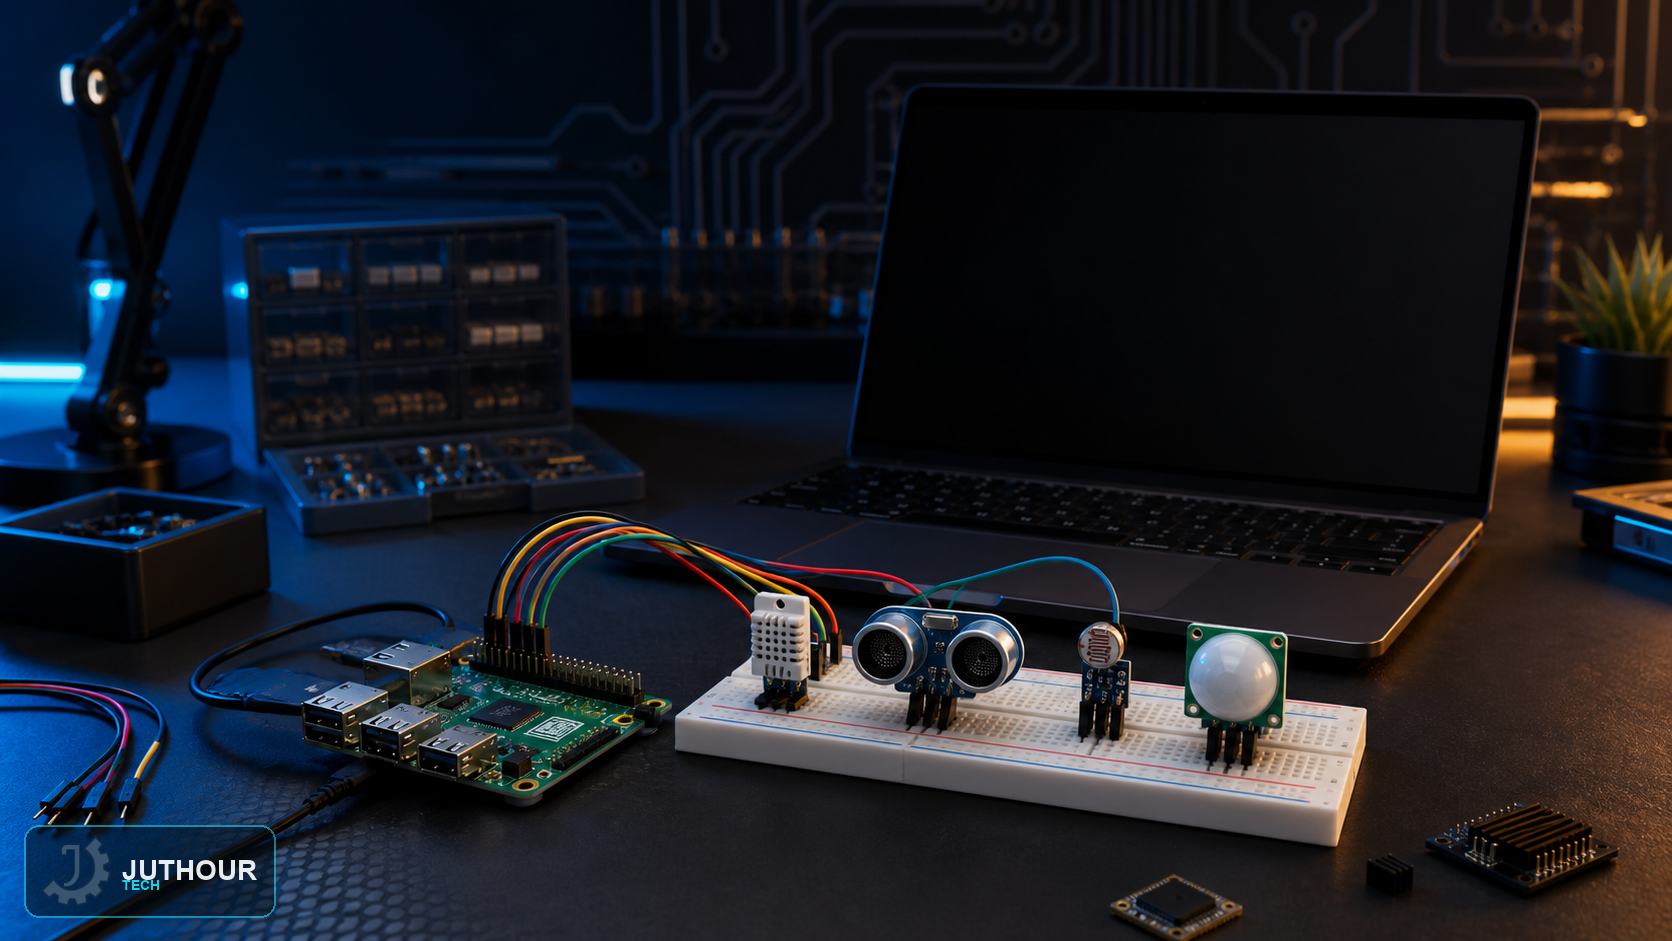
Before connecting a sensor to Raspberry Pi, identify the board model, interface, and voltage levels. GPIO uses 3.3 V logic and is not 5 V tolerant, so level shifting or a divider may be required.
Prepare the hardware
Use reliable boot media with Raspberry Pi OS and a power supply matched to the exact model. Do not apply a universal 5 V/2 A rule; check the official product requirements, especially for Raspberry Pi 4 or 5 and high-current USB accessories.
Enable only the required interface
Enable I²C, SPI, or serial from raspi-config or system settings only when needed. After wiring, verify device discovery with an appropriate tool such as i2cdetect before running the full application.
Safe sensor wiring
- Remove power before changing wires.
- Share ground where the circuit requires it.
- Never drive a load directly from GPIO; use a driver and isolation where appropriate.
- Check boot and alternate-function pins in the model-specific pinout.
Headless access and shutdown
SSH or Raspberry Pi Connect can be configured in Imager. Prefer SSH keys on a trusted network, document wiring and library versions, and shut the system down cleanly before removing power.
Leave your comment