
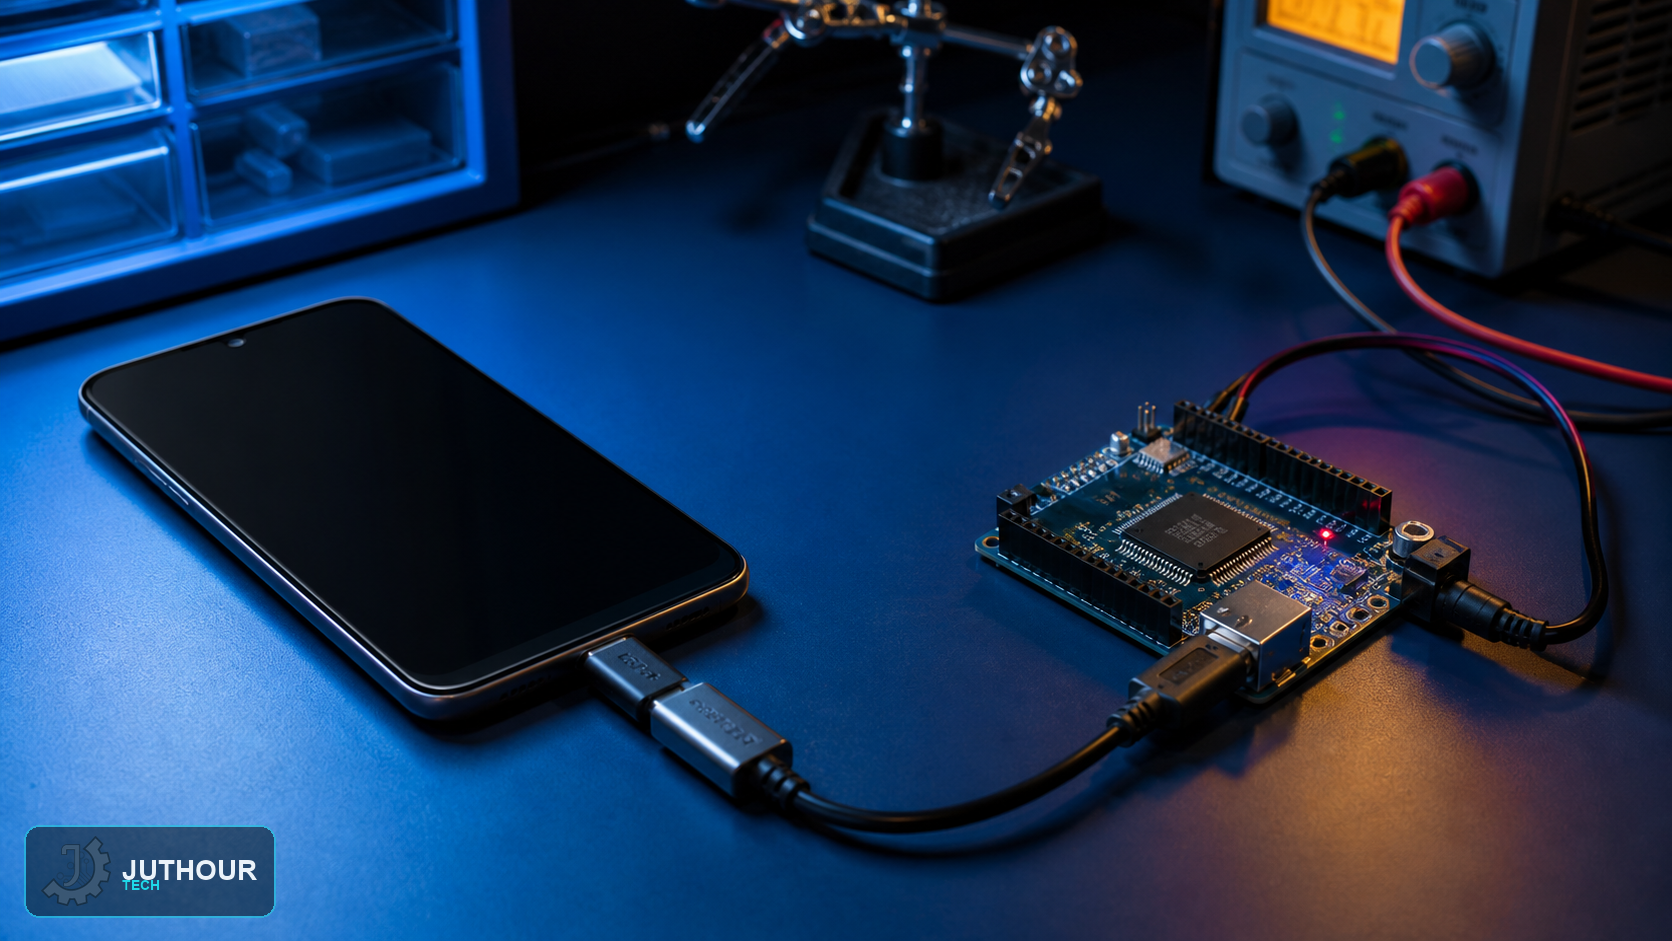
A computer isn't strictly required to program an Arduino — an Android phone, an OTG cable, and the right app cover the same ground for anyone who needs to write and upload a sketch away from a desk.
Components needed
An Arduino board, a USB cable matching its port, an OTG (On-The-Go) adapter, and an Android phone or tablet.
Setting up the connection
The phone must support USB Host through OTG and the app must recognize the USB-serial bridge. Some boards draw more current than a phone can supply; use a properly powered USB hub or regulated source when required, without tying power sources together incorrectly.
Choosing an app
Android programming apps are third-party tools, not a guaranteed replacement for the official Arduino IDE. Verify current app availability, target-board architecture, library support, and the board USB-to-serial interface before depending on the workflow.
The workflow difference from desktop
Where the desktop IDE bundles compiling and uploading into a single click, ArduinoDroid treats them as two distinct steps: writing or opening a sketch, compiling it separately to catch errors, and only then uploading it to the connected board.
Testing it works
The classic Blink example — toggling the board's built-in LED on and off — is the standard first test, since a successful upload and a blinking LED confirm the whole chain (phone, OTG adapter, cable, and board) is working correctly before moving on to anything more complex.
You can find Arduino boards and OTG adapters at Juthour Tech.
Leave your comment