
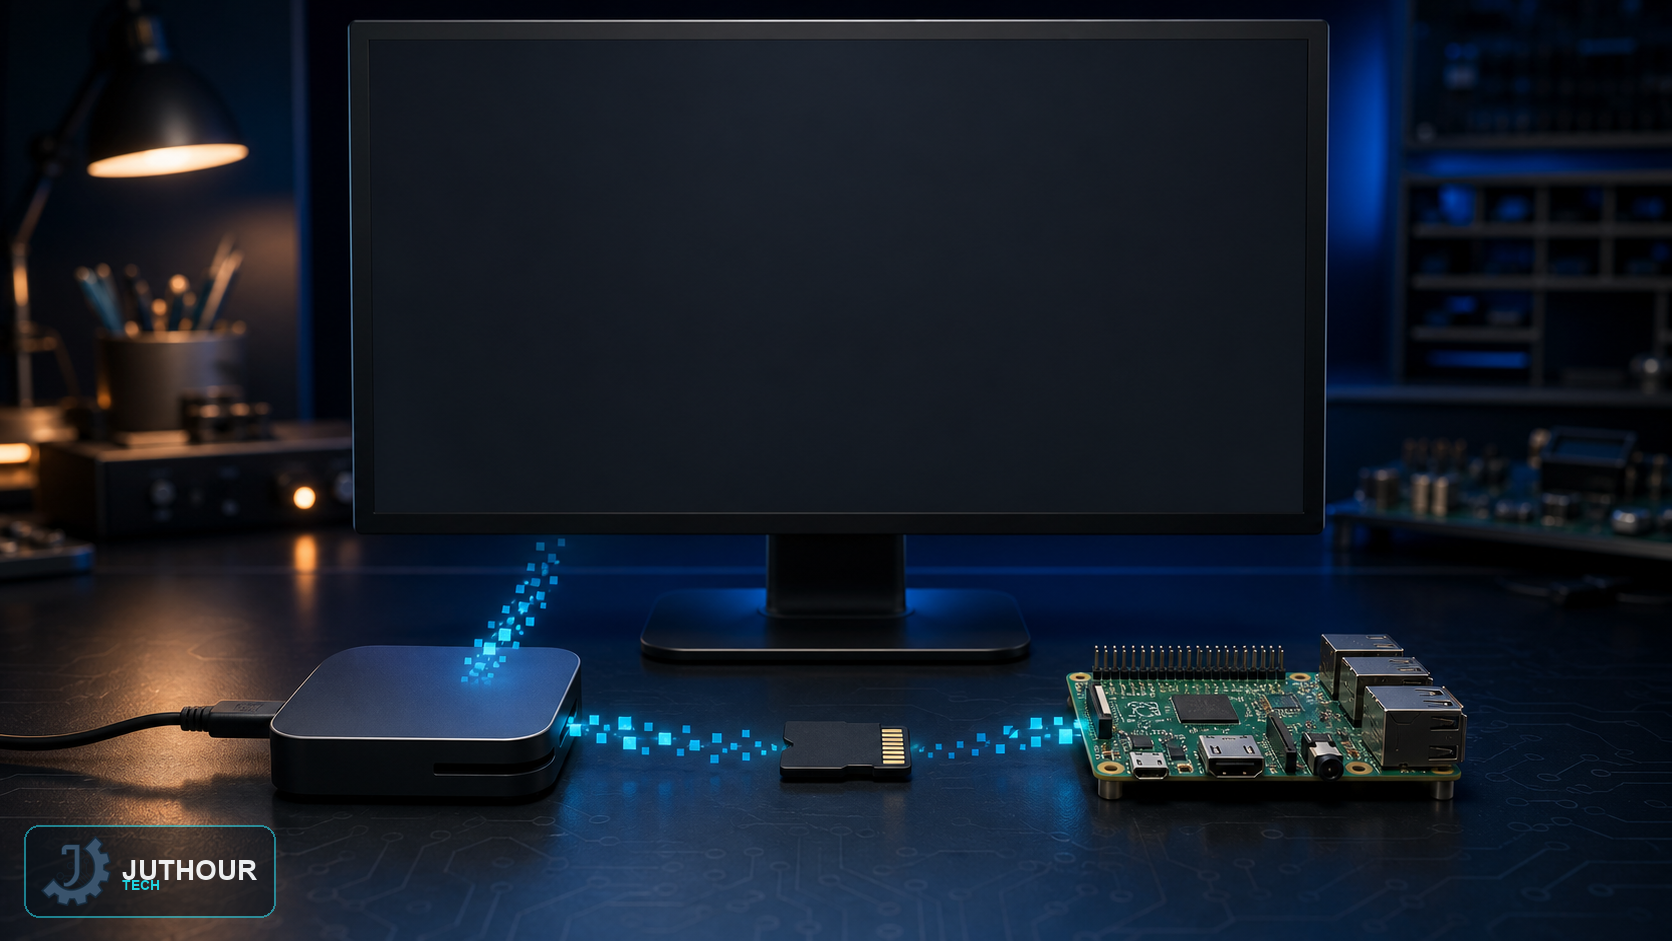
The official and simplest way to install Raspberry Pi OS is Raspberry Pi Imager on Windows, macOS, or Linux. It selects an image for the board, writes the boot media, and verifies it.
Before writing
Prepare a supported, reliable microSD card or other boot device, a reader, and a computer running Imager. Writing erases the selected device, so disconnect unnecessary drives and verify the device name and capacity.
Imager workflow
- Select the Raspberry Pi model.
- Choose Raspberry Pi OS with desktop, or Lite for a headless system.
- Select the correct storage device.
- Customise hostname, locale, user account, Wi-Fi, and SSH when required.
- Write the image and wait for verification before ejecting safely.
First boot
Insert the media, connect display, keyboard, and network as needed, then use a power supply matched to the board model. For headless setup, preconfigure networking and SSH or Raspberry Pi Connect in Imager.
Important: Never remove storage while the system is running, and shut down cleanly before disconnecting power to avoid filesystem corruption.
Leave your comment