
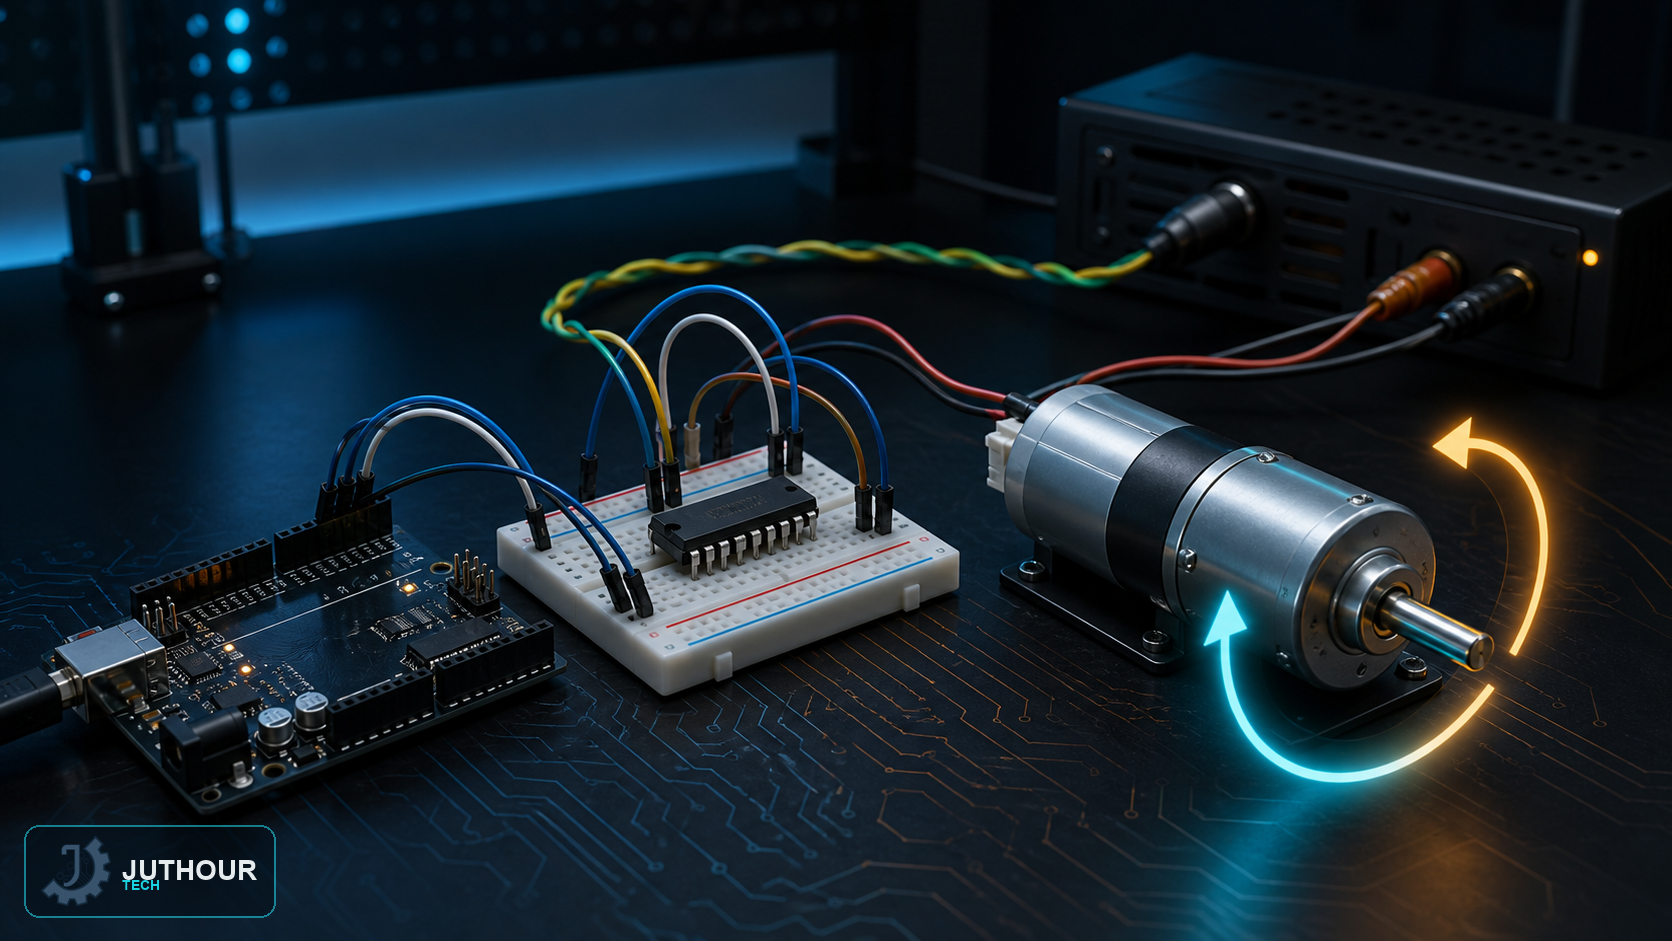
Unlike using L293D with a stepper motor where each coil fires in a set sequence, using it with a DC motor allows direct control of both direction and speed through just one of its two channels.
Components needed
An Arduino board, an L293D IC, one or two DC motors, and an external power supply (a 9V battery in the common example).
Wiring it up
The chip dedicates two direction pins to each motor (IN1/IN2 for the first, IN3/IN4 for the second) and one PWM-capable enable pin (ENA for the first, ENB for the second), with outputs OUT1/OUT2 for the first motor and OUT3/OUT4 for the second, each channel handling up to 600mA. The direction pins connect to ordinary Arduino digital pins (8, 7, 5, and 4 in the example), while the enable pins connect to PWM-capable pins (9 and 3), with Vcc2 powered from an external 9V battery and Vcc1 from the Arduino's 5V rail.
How it works
HIGH/LOW logic on the direction pins controls the motor's rotation direction: setting IN1=HIGH and IN2=LOW turns the motor forward, for example, while swapping the two reverses it. Speed is set via pulse-width modulation (PWM) on the enable pin, where the duty cycle determines the average voltage reaching the motor, with values ranging from 0 to 255.
You can find L293D ICs and DC motors at Juthour Tech.
Leave your comment