
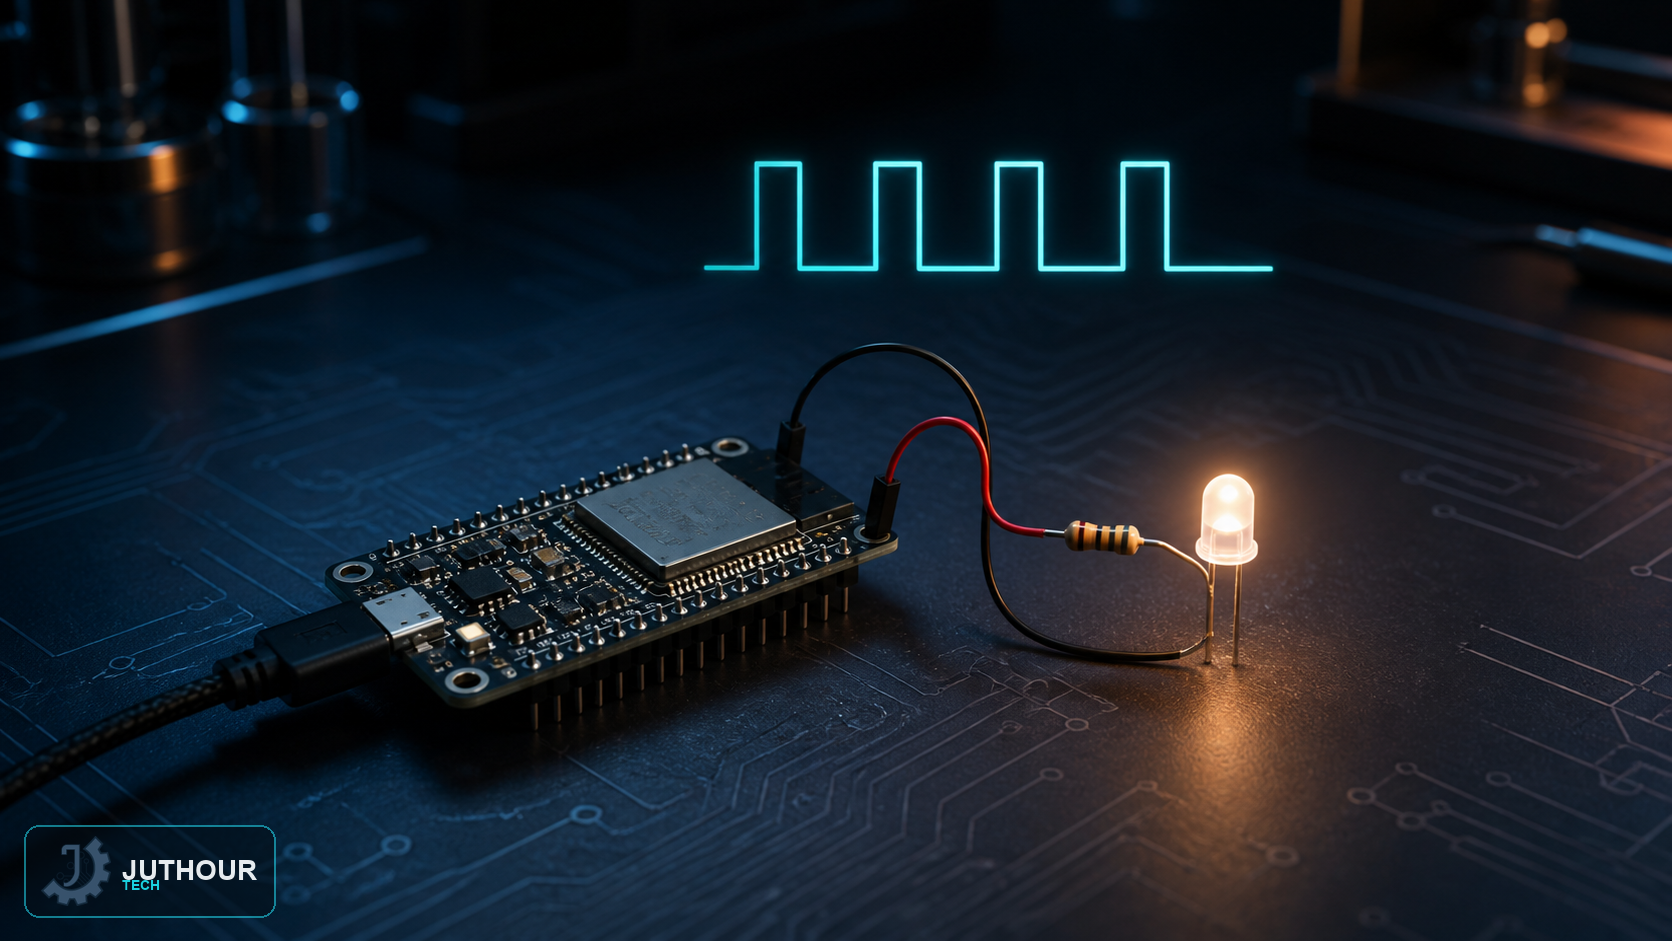
The ESP32 outperforms a traditional Arduino at pulse-width modulation (PWM) control, thanks to a dedicated control unit that offers far more flexibility than the usual analogWrite() function.
ESP32's PWM architecture
The ESP32 provides a dedicated LED control module with 16 independent channels (numbered 0 through 15), so each channel can be set to a different frequency and resolution than the others with no conflict between them.
Three setup steps
Configuring any channel takes three steps: choosing a channel number from the 16 available, setting the signal frequency (5000Hz in the common lighting-application example), and choosing the resolution in bits between 1 and 16 (the example uses 8-bit, giving duty-cycle values between 0 and 255 just like a traditional Arduino).
Control functions
Unlike a traditional Arduino that relies on one simple command, ESP32 uses a set of dedicated functions: ledcSetup() to configure a channel's settings (number, frequency, and resolution), ledcAttachPin() to link a specific GPIO pin to the configured channel, then ledcWrite() to actually control the duty cycle by passing the channel number and the desired value.
Why this beats traditional analogWrite()
A traditional Arduino's analogWrite() function offers simple but limited control: usually just one frequency and fewer simultaneous PWM outputs. ESP32's approach allows setting several independent frequencies at once, higher resolution (up to 16-bit versus 8-bit), and more simultaneous PWM channels with no pin conflicts — making it the better choice for applications needing precise brightness control or complex multi-output PWM scenarios.
You can find ESP32 boards at Juthour Tech.
Leave your comment