
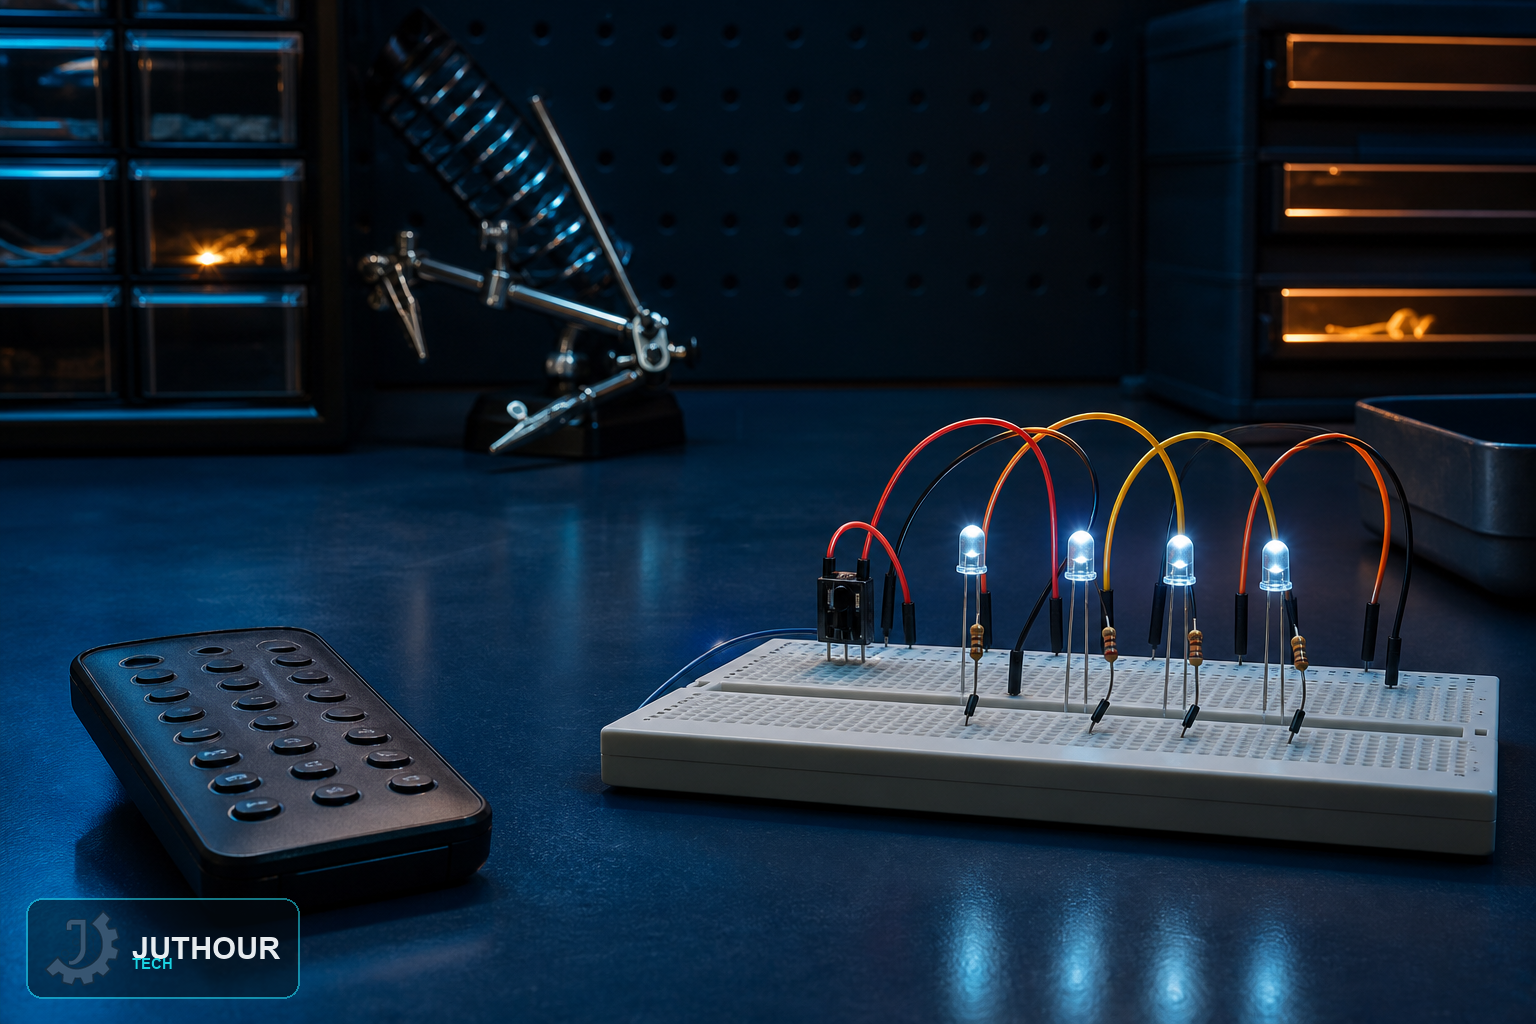
This project is a clean, minimal demonstration of IR remote control basics: four separate LEDs, each toggled independently by its own numbered button on a standard remote — a good starting point before building anything more complex on top of IR control.
Components needed
An Arduino Uno, an IR receiver module, four red LEDs with 220Ω resistors, and a breadboard.
Wiring it up
The IR receiver connects to digital pin 2, with power and ground as usual. The four LEDs connect to pins 9 through 12, each through its own current-limiting resistor.
Programming it
The sketch listens continuously for incoming IR signals and decodes each one into its corresponding hexadecimal code. Buttons 1 through 4 on the remote are mapped to the four LEDs, and pressing one toggles that specific LED between on and off — pressing button 1 again turns that LED back off rather than doing nothing. The Serial Monitor prints each received code, which is a useful way to see exactly what data a remote button actually sends.
How this differs from IR-based RGB LED control
We've also covered controlling an RGB LED's color with an IR remote, where different buttons select different colors on a single LED. This project is a different, more basic case — instead of one LED changing color, it's four separate LEDs each independently switched on or off, which makes the underlying "decode a button code, act on it" logic easier to follow before layering on the color-mixing logic an RGB project needs.
Where this is used
This basic remote-toggle pattern is the foundation for countless home-automation projects — any setup where a handful of devices each need independent on/off control from a single remote.
You can find IR receiver modules at Juthour Tech.
Leave your comment