
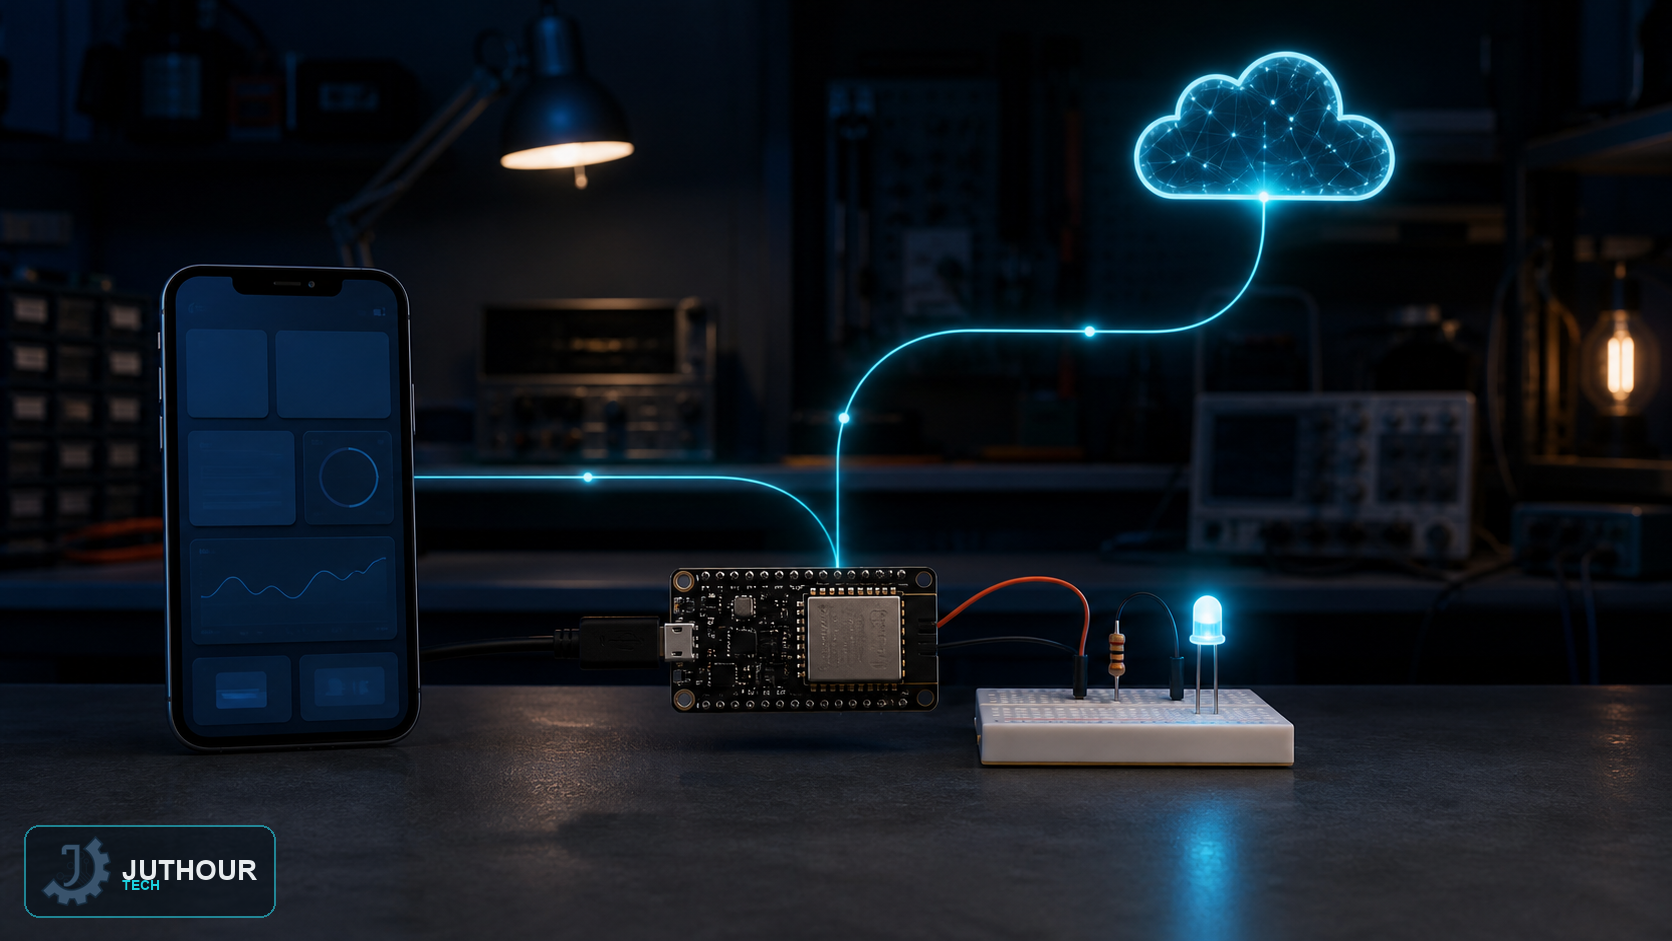
Current Blynk IoT projects use a Template, Device, AuthToken, and Datastreams. An ESP32 provides a direct network connection for a simple, current implementation.
Blynk setup
Create a Template for the hardware and connection type, create a Device, and keep its AuthToken secret. Add a virtual-pin Datastream such as V0 and bind it to a dashboard button.
Hardware and code
Connect an LED through a current-limiting resistor to a suitable ESP32 GPIO. Define BLYNK_TEMPLATE_ID, BLYNK_TEMPLATE_NAME, BLYNK_AUTH_TOKEN, and network credentials, then handle BLYNK_WRITE(V0) to update the output.
Reliability and security
Never publish the AuthToken, implement non-blocking reconnection and a safe state when the network fails, and do not expose hazardous loads through this demonstration without proper authentication, isolation, and protection.
Leave your comment