
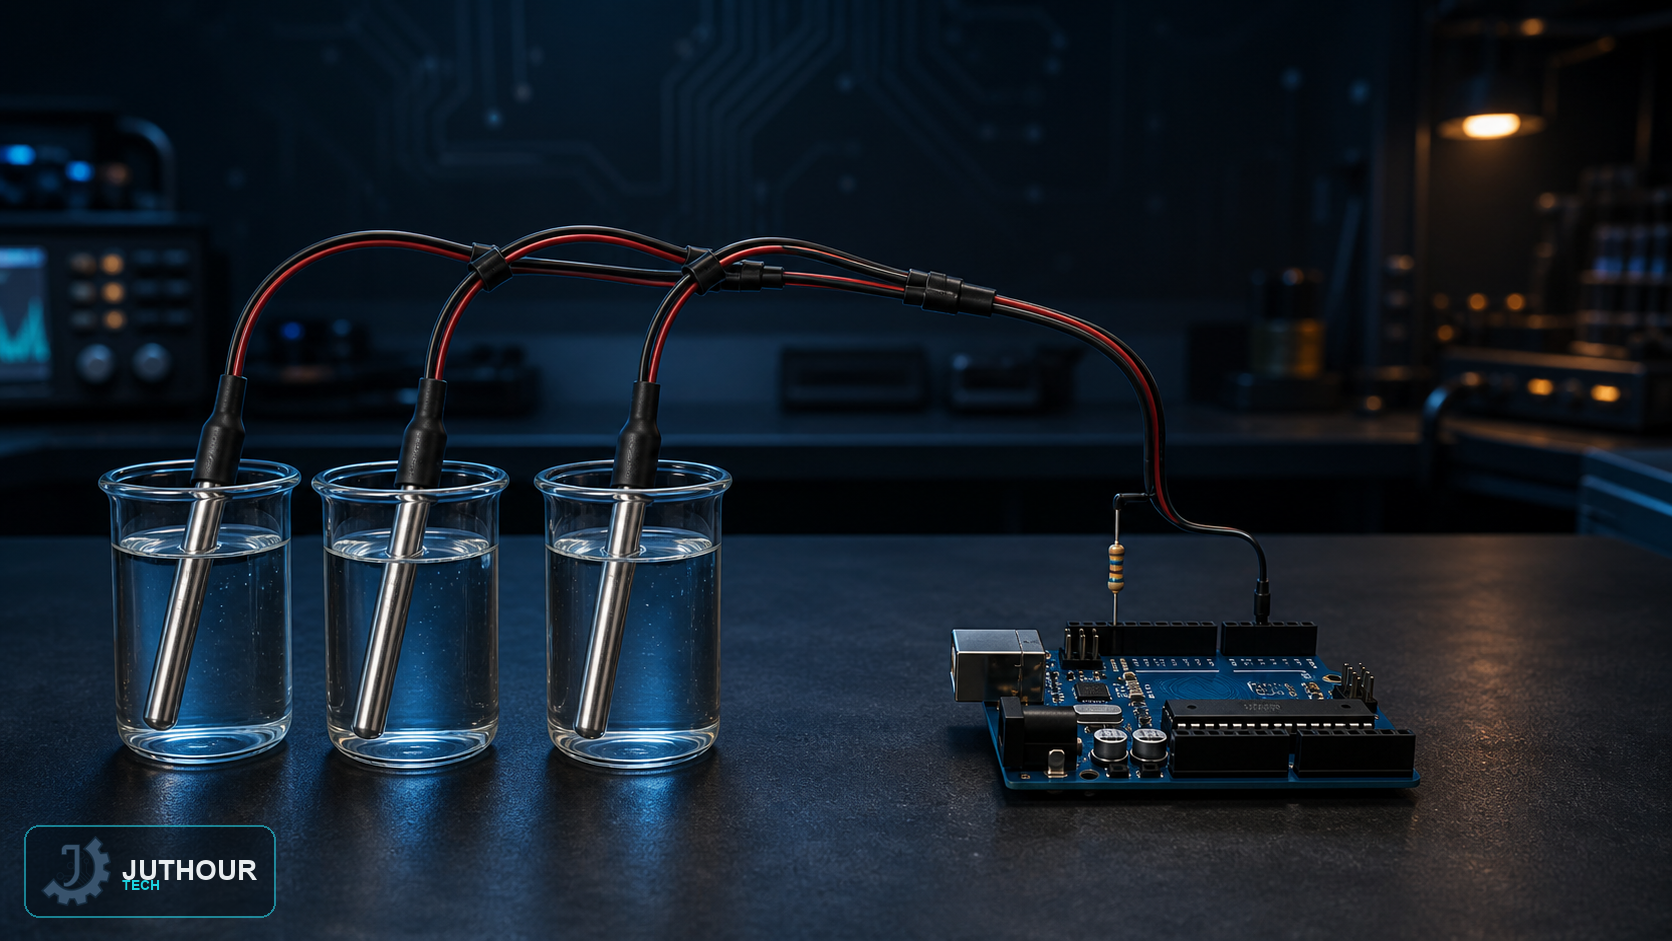
This article details the programming side of wiring several DS18B20 sensors onto the same data line with Arduino, and two different ways to read each sensor individually.
Components needed
An Arduino board, several DS18B20 sensors, a 4.7k-ohm pull-up resistor, and connecting wires.
Wiring it up
All sensors connect in parallel to the same power (5V), ground, and signal pin (digital pin 2 in this project), with a single 4.7k-ohm pull-up resistor between the signal line and power to keep transmission stable — exactly like wiring a single sensor, just with more units sharing the same line.
Method one: reading by index
The Dallas Temperature library automatically detects all connected sensors at startup and assigns each a sequential number (0, 1, 2...), so the code reads each sensor via getTempCByIndex(i), cycling through the numbers.
Method two: reading by unique address
Each sensor has a unique hexadecimal address; a dedicated discovery sketch identifies and prints each sensor's address. This address is then hardcoded into the main program, and getTempC(deviceAddress) is called to read a specific sensor by its unique identifier rather than by connection order.
Which method is better?
The address-based method is more reliable, since the code isn't affected by a change in sensor wiring order or by replacing one of them — unlike the index-based method, which relies on detection order and can shift with any wiring change.
You can find DS18B20 sensors in various quantities at Juthour Tech.
Leave your comment