
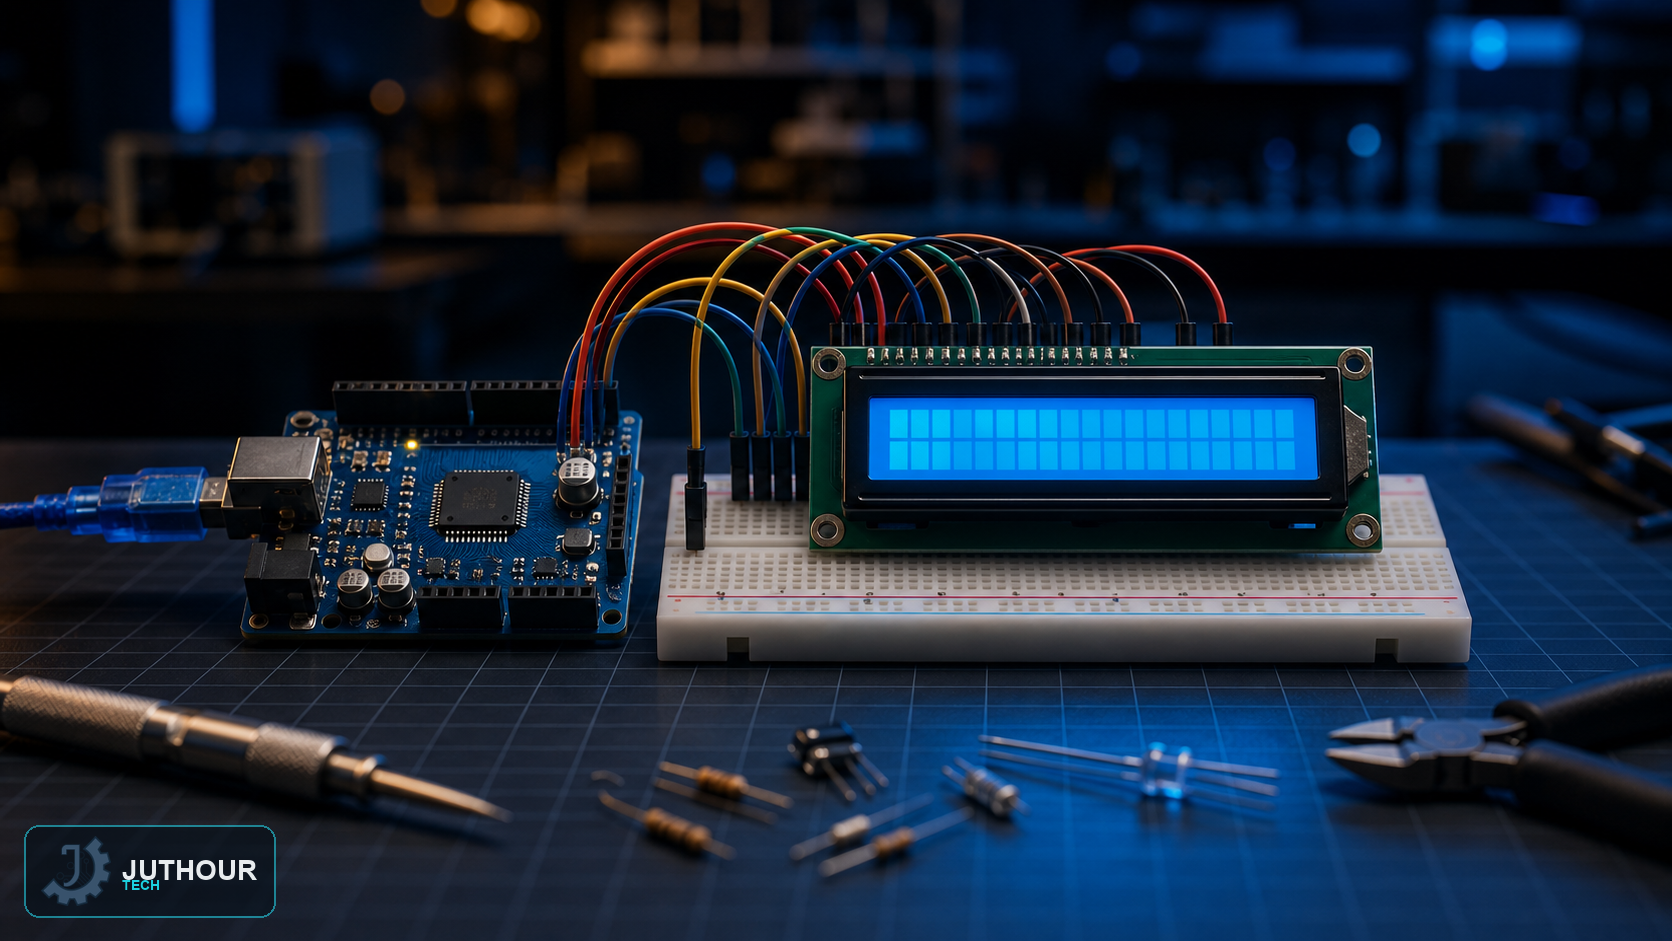
When your project needs to display text and readings clearly, a 16x2 LCD screen is one of the most common solutions to pair with Arduino, showing 16 characters across each of two lines and driven easily through the built-in LiquidCrystal library in the Arduino IDE.
Components needed
A 16x2 LCD screen compatible with the HD44780 display controller (the near-universal standard for these screens), an Arduino Uno board, a 10k-ohm potentiometer for contrast control, and a 220-ohm resistor to protect the backlight circuit.
Wiring it up
This project uses 4-bit mode, which needs only 7 digital pins instead of 11 in full mode: the RS pin connects to digital pin 12, Enable to pin 11, and the data pins D4 through D7 connect to pins 5, 4, 3 and 2 respectively. The potentiometer's wiper connects to the screen's VO pin to adjust contrast, and the power and ground pins connect to the Arduino's 5V and GND pins.
How it works
After including the LiquidCrystal.h library and specifying the pin numbers used, the screen is initialized with lcd.begin(16, 2) to set the number of columns and rows. The lcd.print() function writes fixed text such as a welcome message, while lcd.setCursor(column, row) sets the write position before each print call — allowing, for example, a fixed line of text on the first row and a live-updating value (elapsed milliseconds, or a sensor reading) on the second row without disturbing the first line's content.
Common mistakes to avoid
The most frequent issue with these screens is no text appearing at all despite correct wiring, usually because the contrast potentiometer is set incorrectly. It helps to slowly turn the potentiometer while the code is running until the characters become clearly visible.
You can find 16x2 LCD screens and every accessory needed for this project at Juthour Tech.
Leave your comment