
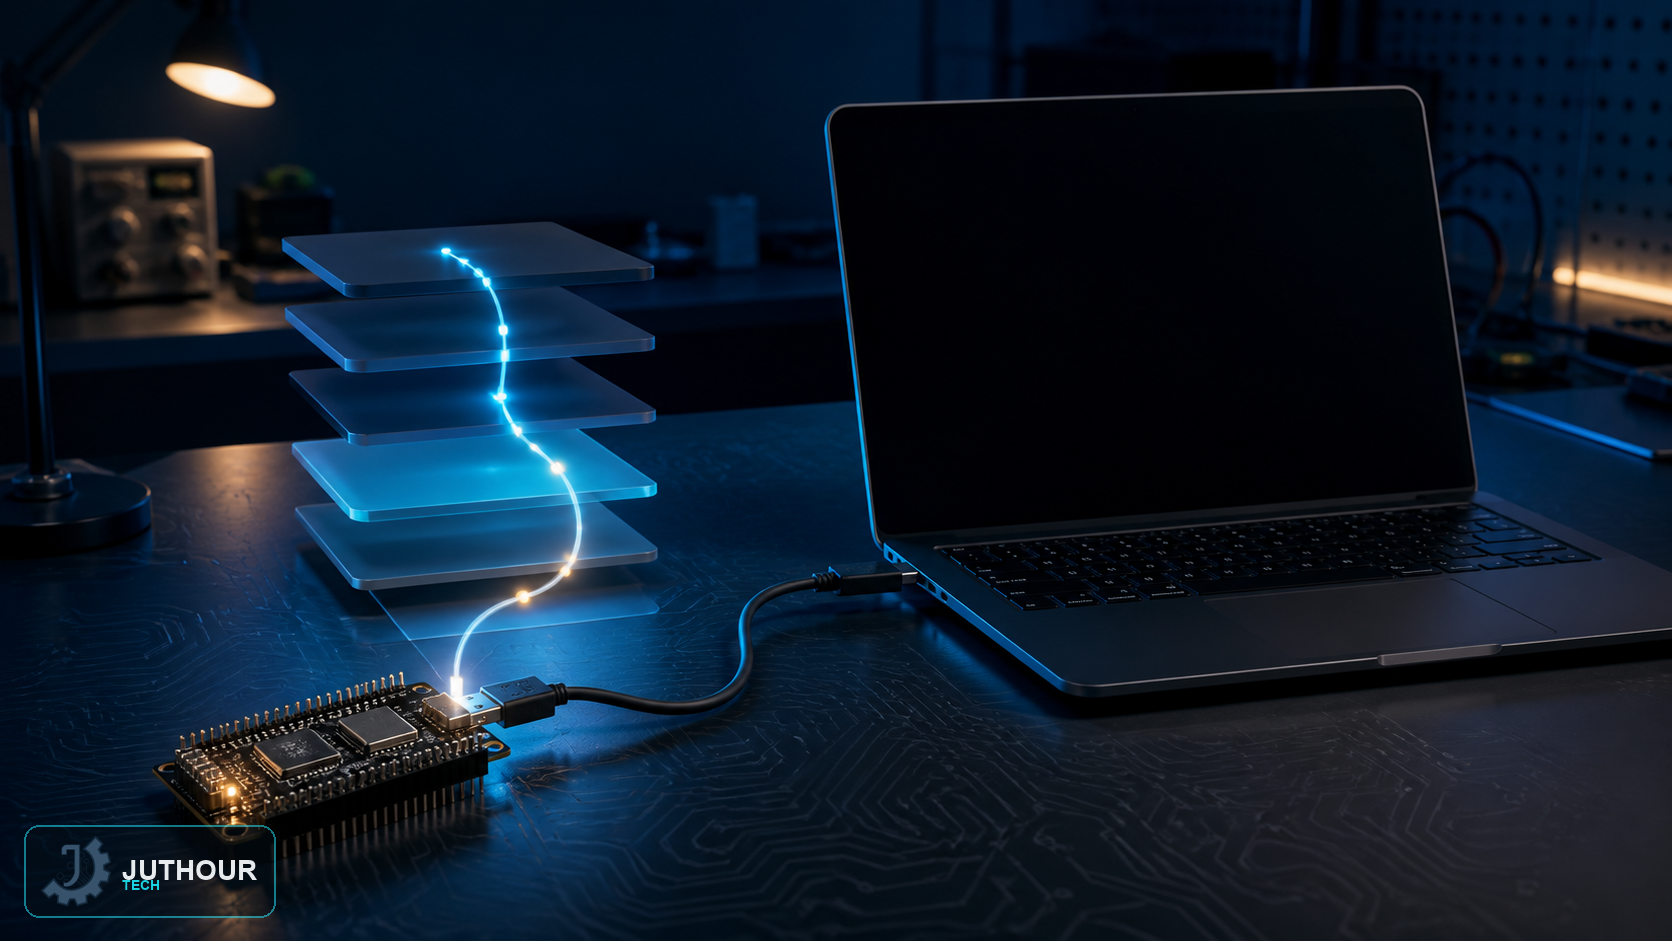
After covering the ESP32's specs and features in part one, this part focuses on the practical side: actually setting up Arduino IDE to program this board, and its first test program.
Installing ESP32 support in Arduino IDE
Setup relies on installing the ESP32 support package inside Arduino IDE, so support files get added to a specific path within the installation folder (Arduino > hardware > espressif > esp32), giving the environment the ability to recognize the board and its features.
Required compiler tools
Compiling code to run on the ESP32 processor requires installing the Xtensa GNU compiler toolchain built for this architecture, and the setup process downloads these tools alongside the ESP32 SDK automatically.
The first program: blinking an LED
A simple example demonstrates blinking the onboard blue LED, usually connected to pin D2 (GPIO2), the best foundational test to confirm the development environment is set up correctly.
A common upload issue
One of the most frequent problems is a connection failure during code upload, usually solved by holding down the BOOT button on the board when the upload process starts, then releasing it once the actual transfer begins — a simple manual step that resolves most common upload failures on ESP32 boards.
You can find ESP32 boards ready for programming at Juthour Tech.
اترك تعليقا