
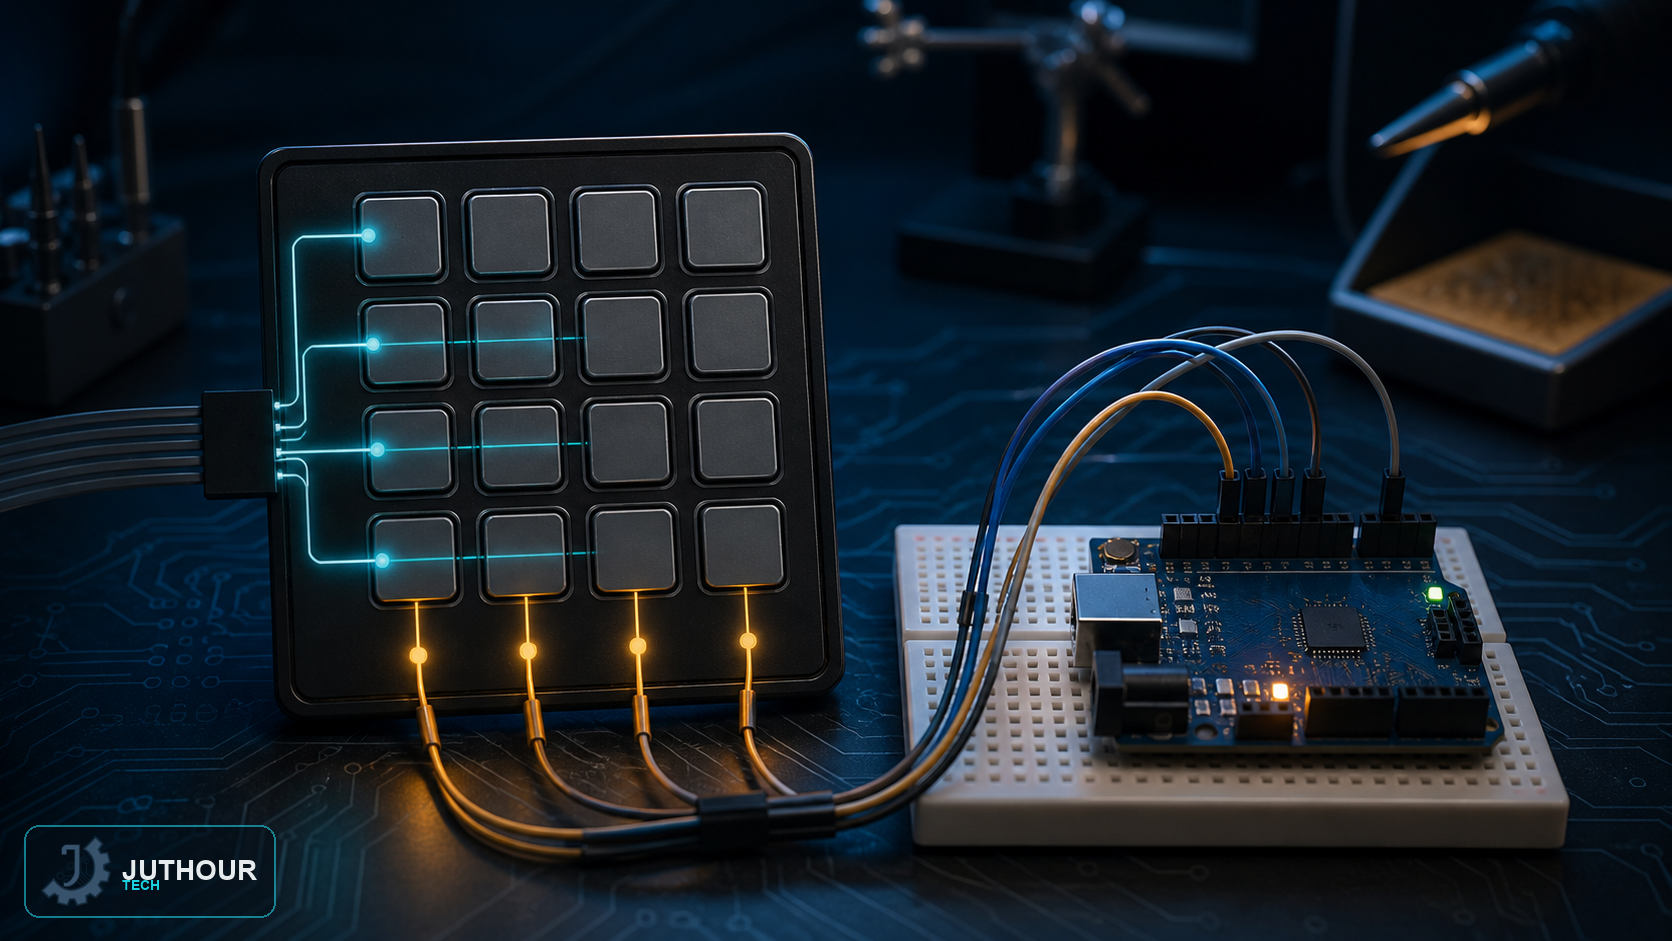
We covered how a membrane keypad works and the matrix logic that saves wiring pins in an earlier article; this article completes the practical side: what does the actual code for reading a keypad look like, step by step, via the Keypad.h library?
Components needed
An Arduino board, a membrane keypad (4x3 or 4x4), and connecting wires.
Defining the key map
The code relies on the makeKeymap() function from the Keypad.h library to define the key layout, via a two-dimensional array of characters representing each button at its actual position on the pad (like {'1','2','3'} for one row on a 4x3 pad).
Defining row and column pins
Row and column pins are defined as two separate byte arrays; for example, a 4x3 pad's rows connect to pins 9, 8, 7, and 6, while its three columns connect to pins 5, 4, and 3. A 4x4 pad needs a fourth column, usually tied to pin 2, in addition to the same first three row and column pins.
Reading the pressed key
After defining a Keypad object with the key map and the two pin arrays, the getKey() function handles reading any pressed button and returns it as a single character that can be used directly in the project's logic or printed to the Serial Monitor. Serial communication is usually set up at 9600 baud, and the main program loop repeatedly checks for new key presses.
You can find membrane keypads in various sizes at Juthour Tech.
اترك تعليقا