
Arduino has a built-in 10-bit analog-to-digital converter (ADC) that lets it measure any voltage between 0 and 5V directly through its analog pins, but measuring voltages higher than that requires a simple extra circuit known as a voltage divider.
Direct measurement up to 5V
To measure a voltage that doesn't exceed 5V, simply connect it directly to one of the analog pins A0 through A5, then read it with analogRead(), which returns a digital value between 0 and 1023. To convert this value into an actual voltage in volts, use:
Voltage = Value * (5.0 / 1023)
Measuring voltages above 5V
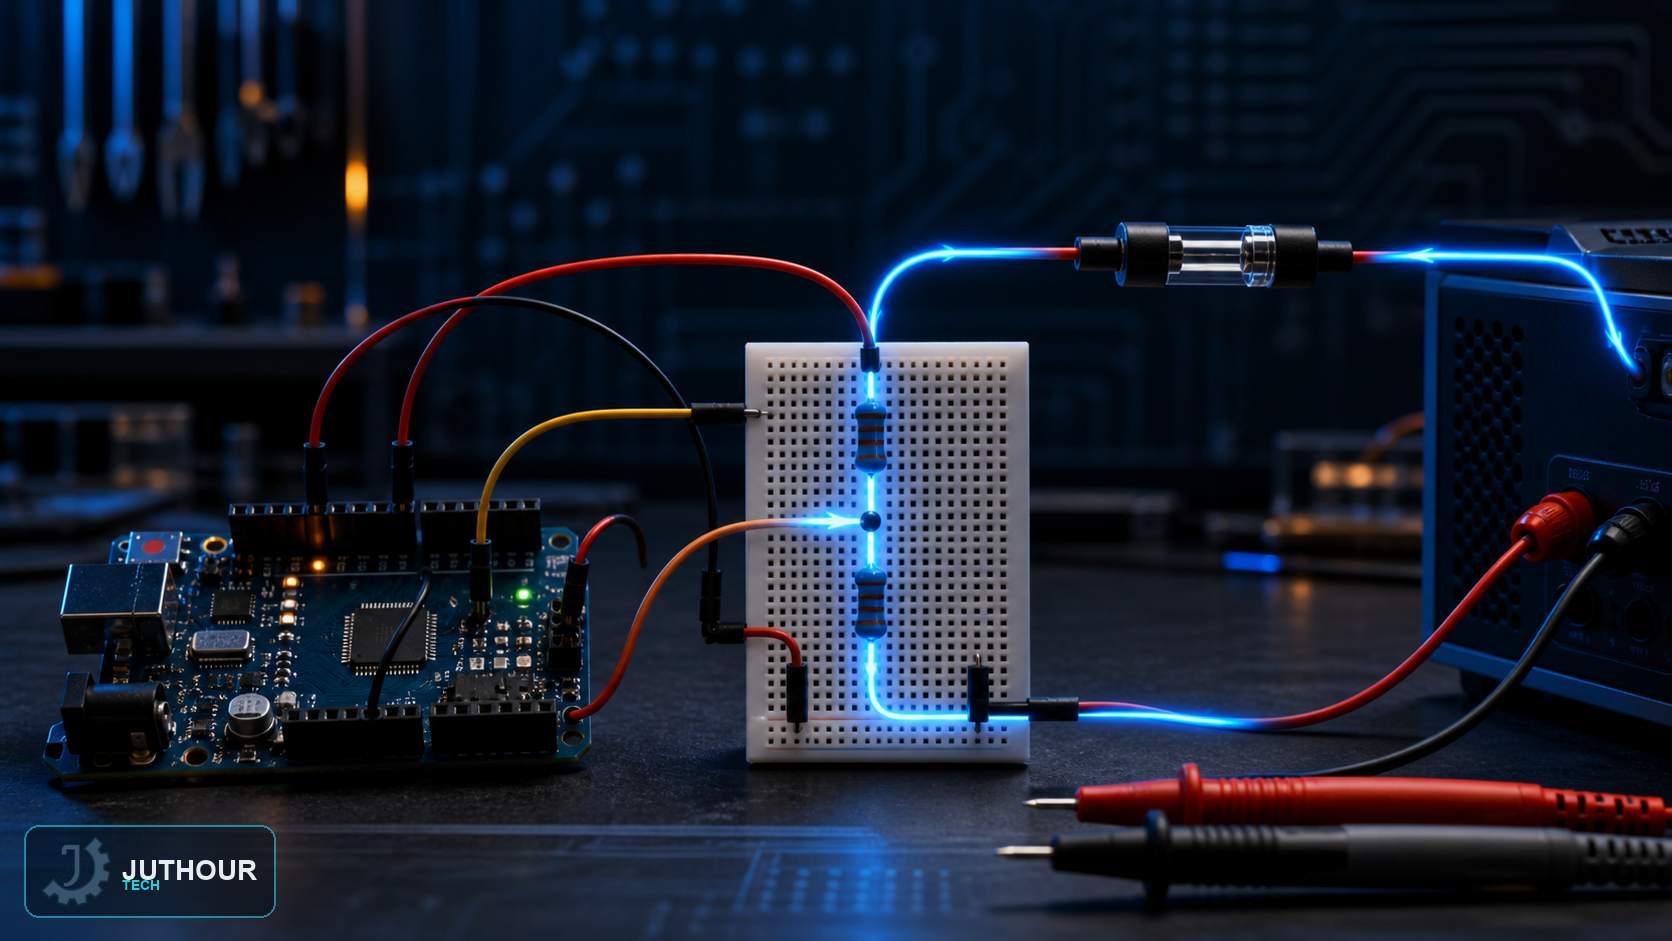
To measure a voltage of, say, up to 12V, a voltage divider is built from two resistors in series, chosen so the voltage at the division point falls within the Arduino's safe 0-5V range. In the common example for a range up to 12V, R1 is 47k-ohm and R2 is 33k-ohm, and the resulting voltage is measured across R2:
V1 = Vm * (R2 / (R1 + R2))
After reading this scaled-down voltage through the Arduino, the original voltage Vm is recovered by reversing the same formula to account for the divider's effect:
Voltage = Value * (5.0 / 1023) * ((R1 + R2) / R2)
A ready-made alternative
Pre-built voltage sensor modules are also available, containing an internally calibrated voltage divider for measuring up to 25V — a practical option that saves you from calculating the resistors yourself.
You can find ready-made voltage sensor modules and the resistors needed to build a voltage divider at Juthour Tech.
اترك تعليقا