
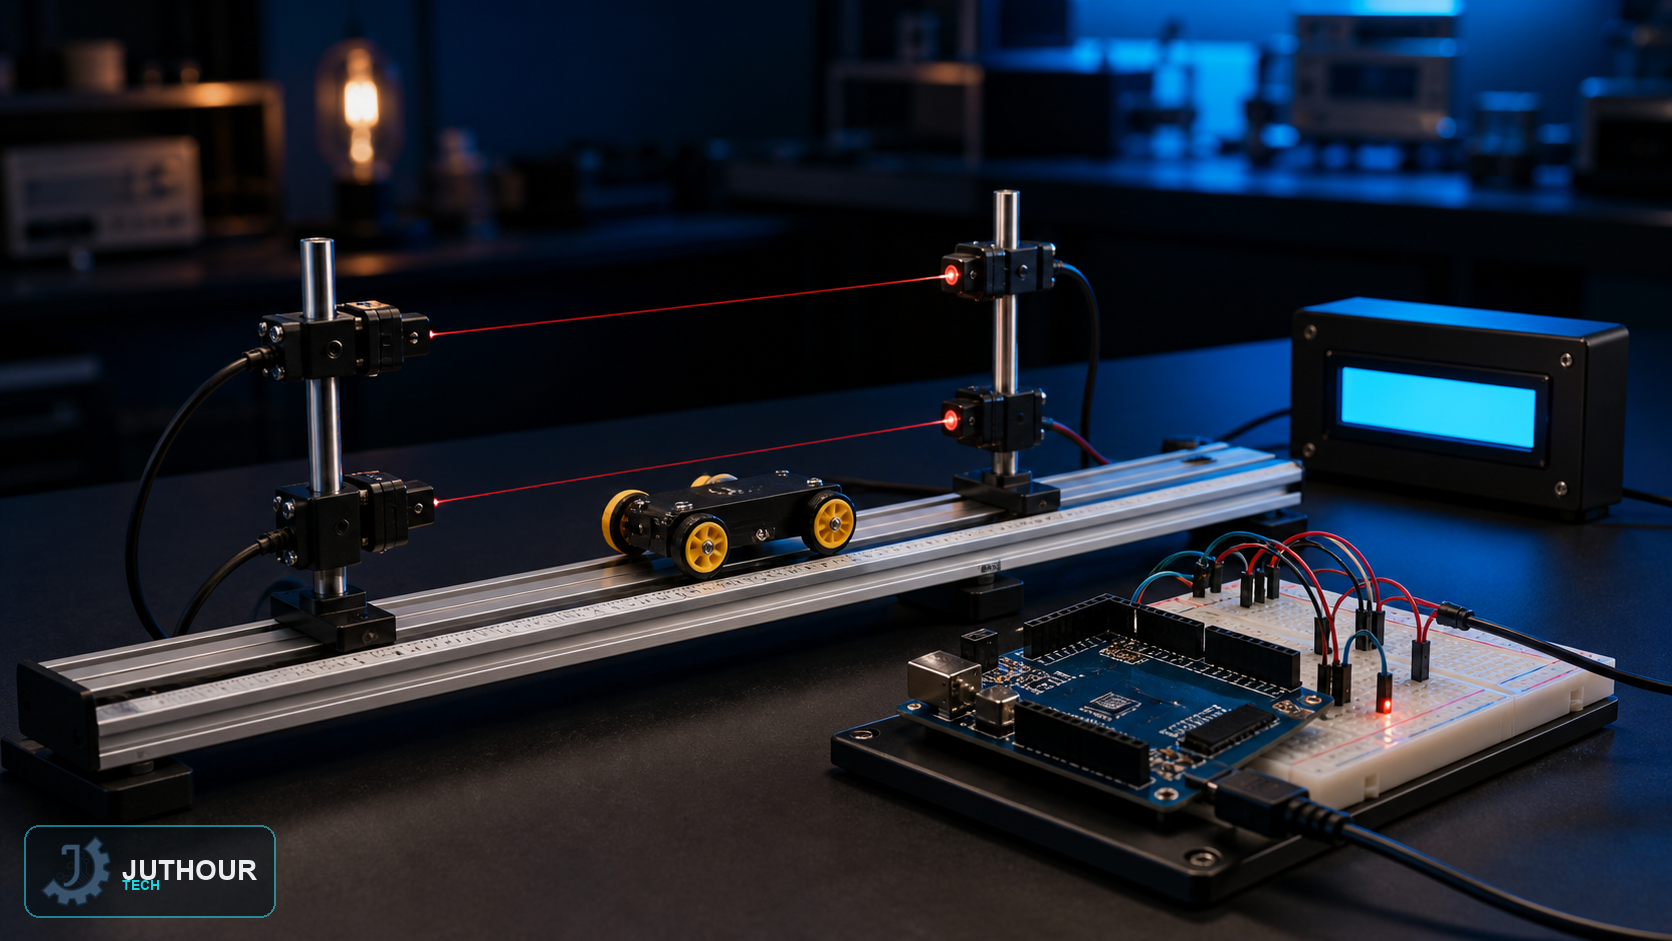
Two infrared sensors placed a known distance apart turn into a working speed gun: measure how long an object takes to travel between them, and the rest is just physics.
Components needed
Use two rigidly mounted break-beam sensors or photointerrupters at a known spacing. Reflective obstacle modules do not form a beam between two points and can vary with target color and range, so they are not a drop-in substitute without testing.
Wiring it up
The two IR sensors are mounted a fixed, known distance apart — 7cm in the reference build — each connected to its own digital input pin. The LCD and buzzer connect following the usual wiring for each.
How the timing works
Timestamp the first and second gate crossings with micros or a suitable timer, then calculate speed as distance divided by elapsed time. Add a timeout for partial triggers, define direction, and use interrupts when a short pulse might be missed by polling.
Configurable settings
The known sensor distance is stored in the code as a simple constant (const float dist = 0.07 for 7cm) and can be changed to match a different physical spacing. A speed threshold — defaulting to 1 km/h in the example — triggers the buzzer alarm when exceeded, and can be raised or lowered depending on what counts as "fast" for the specific application.
Handling a partial trigger
If an object only trips the first sensor and never reaches the second — someone waving a hand in front of it, for instance — a timeout safeguard resets the measurement instead of leaving the Arduino waiting indefinitely for a second trigger that may never come.
You can find IR obstacle-avoidance sensors and LCD displays at Juthour Tech.
اترك تعليقا