
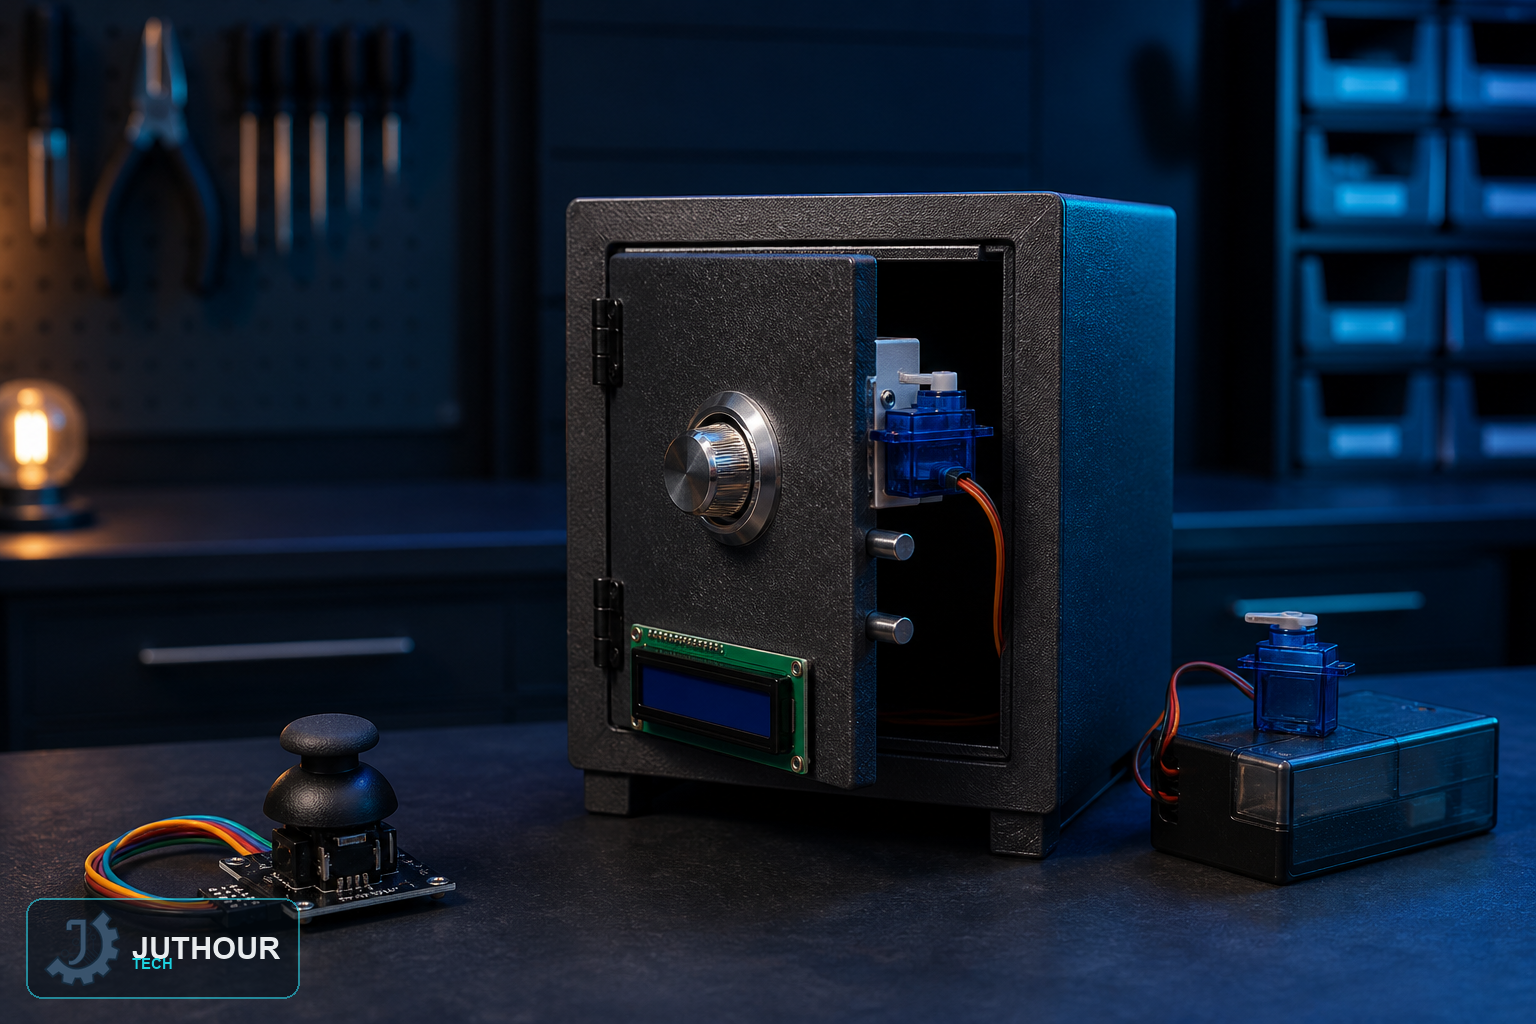
We've built lock projects controlled by buttons, a keypad, and an IR remote before — this one uses a joystick instead, mapping its four directions to digits and turning password entry into a sequence of simple directional pushes.
Components needed
An Arduino Uno, a PS2-style analog joystick module, a 16x2 I2C LCD, an SG90 micro servo for the lock mechanism, a breadboard, and a 9V battery.
Wiring it up
The joystick's X and Y analog outputs connect to two analog pins, the LCD uses standard I2C wiring, and the servo's signal wire connects to a PWM-capable digital pin.
How the joystick enters a code
Each joystick direction maps to a digit: up is 1, right is 2, down is 3, and left is 4. Pushing the joystick in a direction registers that digit, which appears on the LCD as it's entered, building up a four-digit sequence one push at a time. The default password in the base project is "1234."
Checking the code and unlocking
Once four digits have been entered, the sketch compares the sequence against the stored password. A match rotates the servo 180 degrees to open the safe; a wrong sequence resets the input and requires starting over. While unlocked, the system also allows setting a new password, so the combination isn't permanently fixed at "1234."
How this compares to our other lock projects
Our button-and-IR safe, our keypad door lock, and this joystick-based safe all solve the same basic problem — verifying an entered code before unlocking — but each uses a genuinely different input method. The joystick approach here is worth trying specifically for how it turns a familiar directional-pad gesture into a password entry method, rather than needing a dedicated numeric keypad or remote.
You can find analog joystick modules and SG90 servo motors at Juthour Tech.
اترك تعليقا