
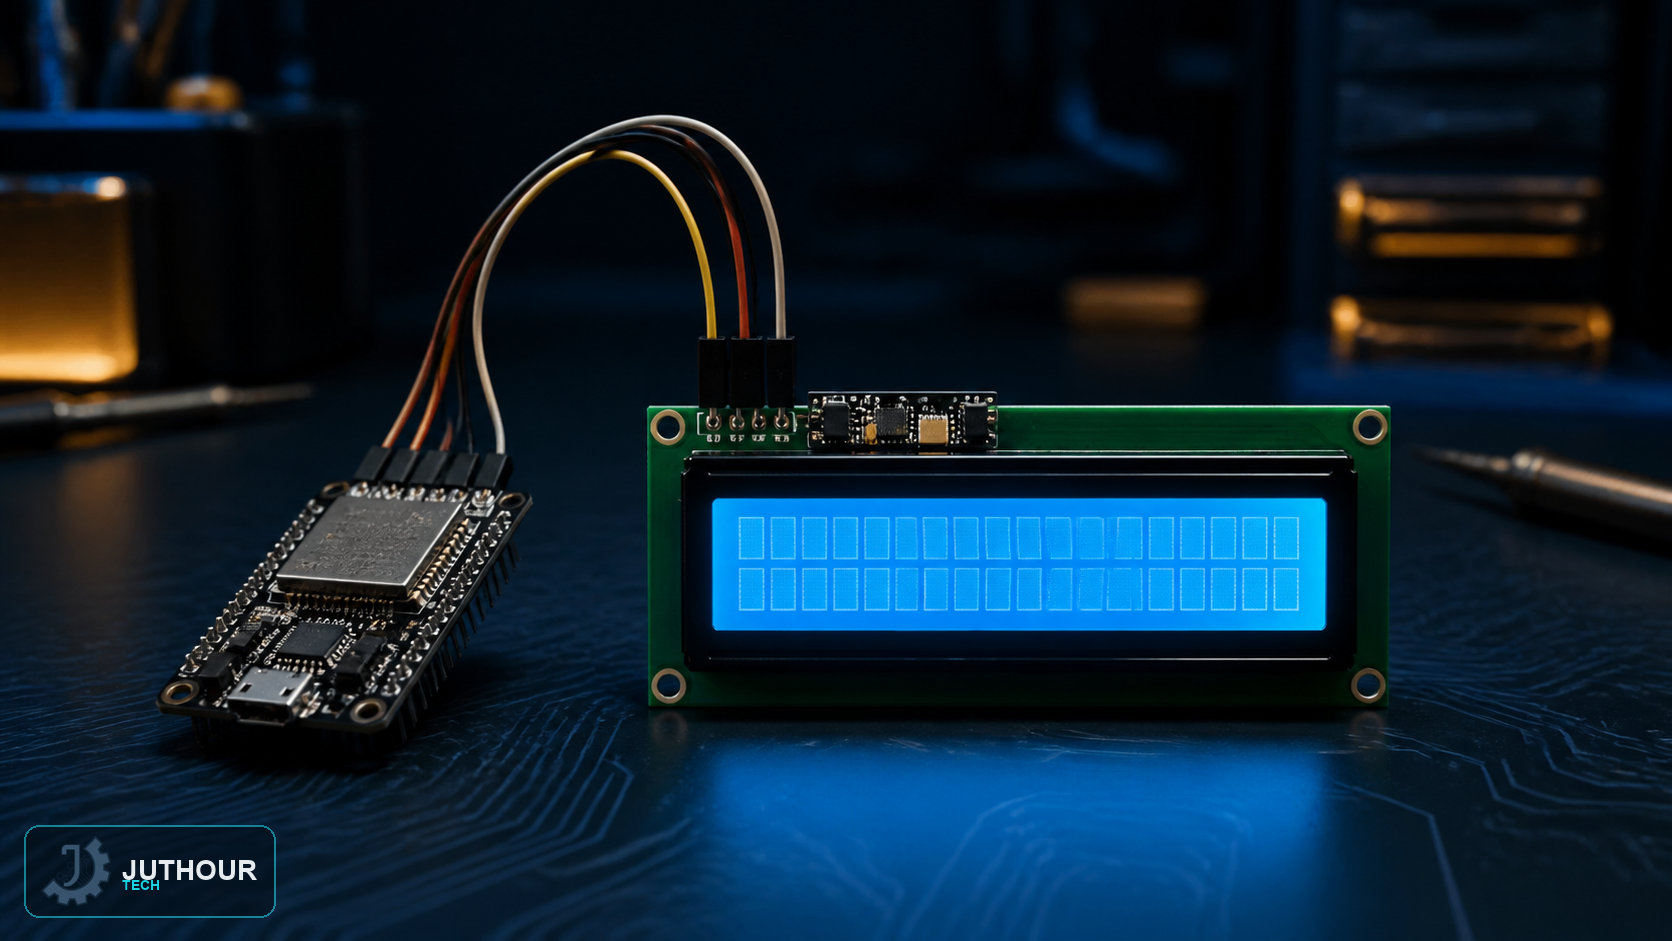
The I2C protocol drastically simplifies wiring a character LCD, cutting the number of needed wires from around six signal pins down to just two, via a small expansion board (I2C backpack).
Components needed
An ESP32 board, a 16x2 LCD fitted with an I2C backpack module, and connecting wires.
Wiring it up
Through the backpack, the display needs just two data lines: SDA and SCL, connected to ESP32's default I2C pins (pin 21 for SDA and pin 22 for SCL), plus power and ground. The backpack includes a built-in potentiometer to adjust display contrast with no extra circuit needed.
Finding the display's address
The display's I2C address varies depending on the backpack's manufacturer; it's recommended to run an I2C scanner sketch first to determine the actual address on the bus before writing the main code — the most common address is 0x27, but it can vary depending on the module used.
Programming it
The code relies on the LiquidCrystal_I2C library, which provides ready-made functions for initializing the display, controlling the backlight, positioning the cursor, and printing text. A custom function can also be written to display long text beyond the standard 16-character line width with a continuous horizontal scrolling effect.
You can find ESP32 boards and I2C-equipped LCD displays at Juthour Tech.
اترك تعليقا