
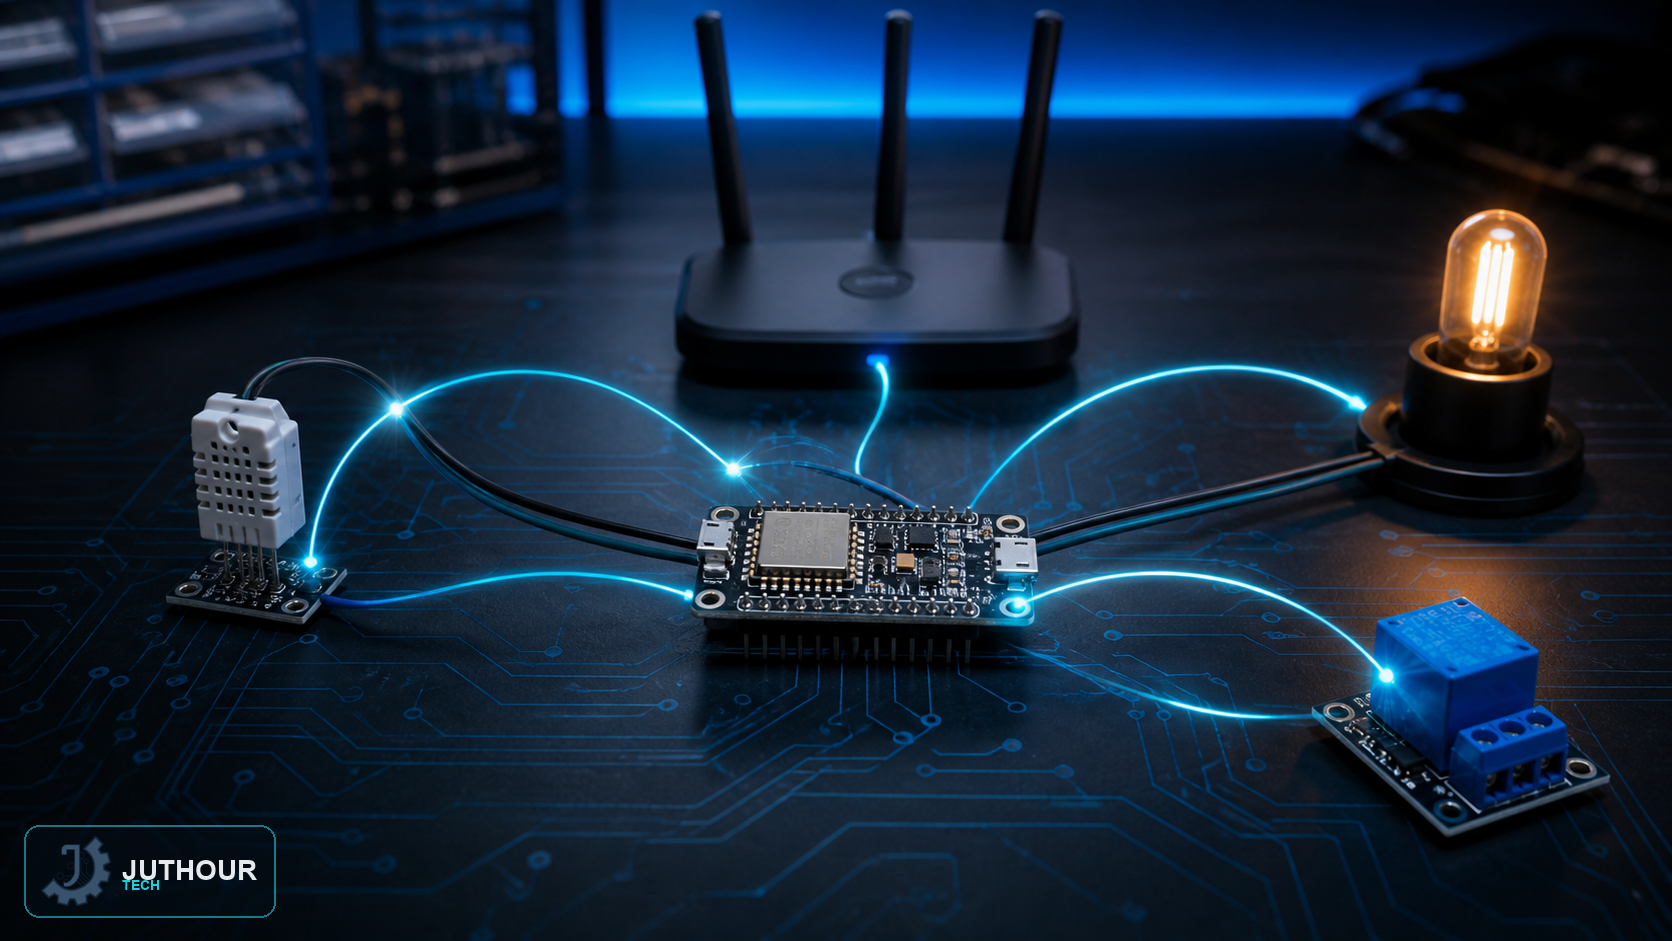
The NodeMCU board is an ideal entry point into the world of IoT, combining the familiar ease of programming in the Arduino IDE with built-in Wi-Fi connectivity thanks to the ESP8266 chip, with no need for any additional communication module as would be the case with a regular Arduino.
Setting up the programming environment
After installing the Arduino IDE, you need to add support for ESP8266 boards, which aren't installed by default: the dedicated board package URL is added to the "Additional Board Manager URLs" field in the program's Preferences, then the Boards Manager is opened from the Tools menu to search for and install the ESP8266 package, after which every board in this family becomes available in the board list.
Selecting the board and its settings
From the board list, choose "NodeMCU 1.0 (ESP-12E Module)", then set a few additional options such as the flash memory size allocated to the SPIFFS file system, the CPU frequency (usually 80MHz), and the upload speed, which typically goes up to 921600 baud to speed up the code-upload process.
Your first hands-on test
To confirm the setup is correct, it's best to start with the built-in Blink example from the IDE's examples, with one important note: NodeMCU's pin labels printed on the board (like D0, D1) don't match the actual GPIO number used in code — for example, D0 maps internally to GPIO16, and D1 maps to GPIO5, a detail that commonly confuses beginners the first time they use this board.
You can find NodeMCU boards at Juthour Tech.
اترك تعليقا