
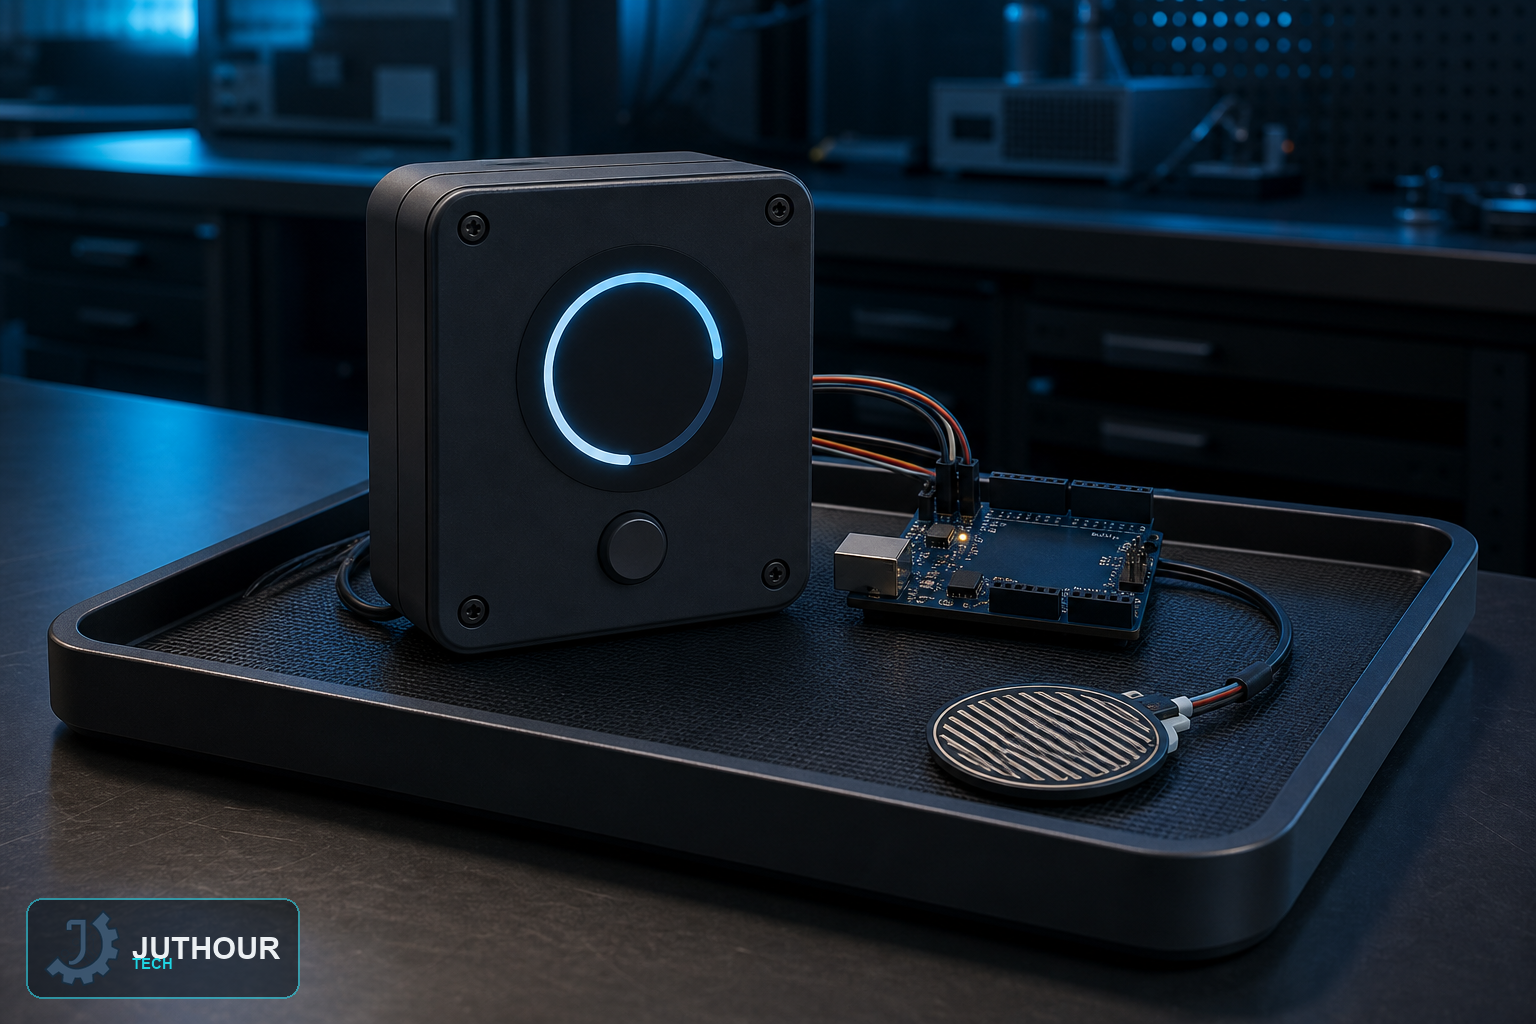
Create a user-controlled timer with neutral cues, adjustable duration, and easy dismissal while avoiding compulsive or treatment-oriented feedback.
Prototype objective
The project focuses on sensing, state logic, feedback, and a low-voltage bench prototype that can be tested safely. Define user requirements, success criteria, and failure cases before considering any real deployment.
Suggested components
An Arduino Uno R3, a dry push button for safe simulation or an isolated analog water sensor module, a 16x2 I2C LCD, a buzzer with a mute control, a yellow LED, a breadboard, and jumper wires.
Wiring and implementation
For dry simulation, connect the button to pin 2 with the internal pull-up. If an isolated analog water sensor is used on the bench, connect its analog output to A0. Drive the LED and buzzer through suitable current-limiting and interface components, and connect the LCD over I2C.
Use a regulated supply and common ground, never drive loads directly from controller pins, and add current limiting, suitable interface stages, flyback protection for inductive loads, and logic-level conditioning as required.
Test plan
Use a dry simulated trigger or correctly wired analog sensor on A0, test wet and dry thresholds, debounce and hysteresis, quiet mode, easy cancellation, and user comfort.
Use limitations
The timer does not diagnose or treat OCD and must not enforce longer washing. Timing and prompts should be chosen with the user and, when relevant, a qualified clinician.
Next step
Document the schematic, library versions, calibration, measurements, and failure cases. Whenever the application involves safety, health, children, buildings, or equipment, use qualified specialists and applicable standards rather than relying on a hobby prototype.
اترك تعليقا