
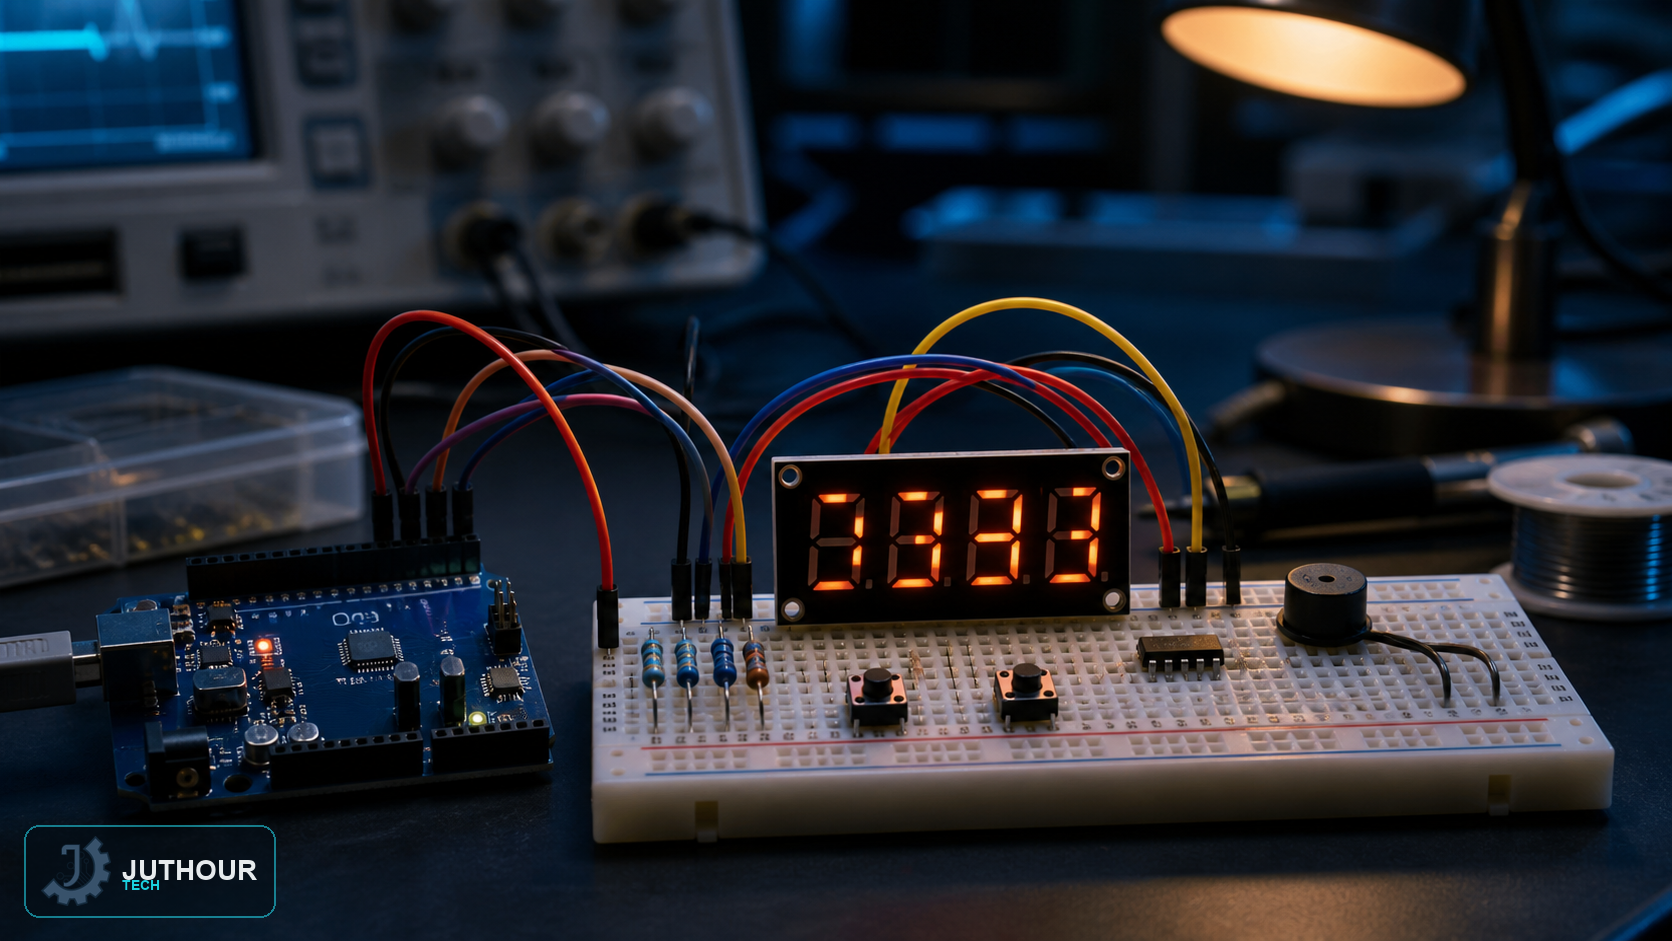
A four-digit seven-segment display and three buttons are all it takes to build a functional up/down counter — a small project that's a genuinely useful building block for scoreboards, tally counters, or any project that needs to track a number people can adjust by hand.
Components needed
An Arduino Uno, a TM1637 four-digit seven-segment display module, three tactile push buttons (up, down, and reset), an active buzzer, a breadboard, and connecting wires.
Wiring it up
The TM1637 module needs just two data pins — CLK and DIO — beyond power and ground, since it handles its own digit multiplexing internally. Each button connects to its own digital pin, and the buzzer connects to a digital output pin for feedback.
How counting works
Pressing the up button increments the stored count by one; the down button decrements it. Holding the reset button for roughly a second resets the display back to zero. Every button press also triggers a short buzzer tone, giving audible confirmation the press registered.
Driving the display
The code keeps an array mapping each digit 0-9 to the specific segment pattern that lights it up correctly, and writes to the TM1637 using its own simple start/stop signal protocol, sending the value bit by bit. A brightness constant in the code controls how bright the digits appear.
Remembering the count
EEPROM can preserve the value, but writing on every button press consumes endurance unnecessarily. Use EEPROM.update and save after a quiet interval or explicit event, with upper/lower bounds and proper button debouncing.
You can find TM1637 display modules and push buttons at Juthour Tech.
اترك تعليقا