
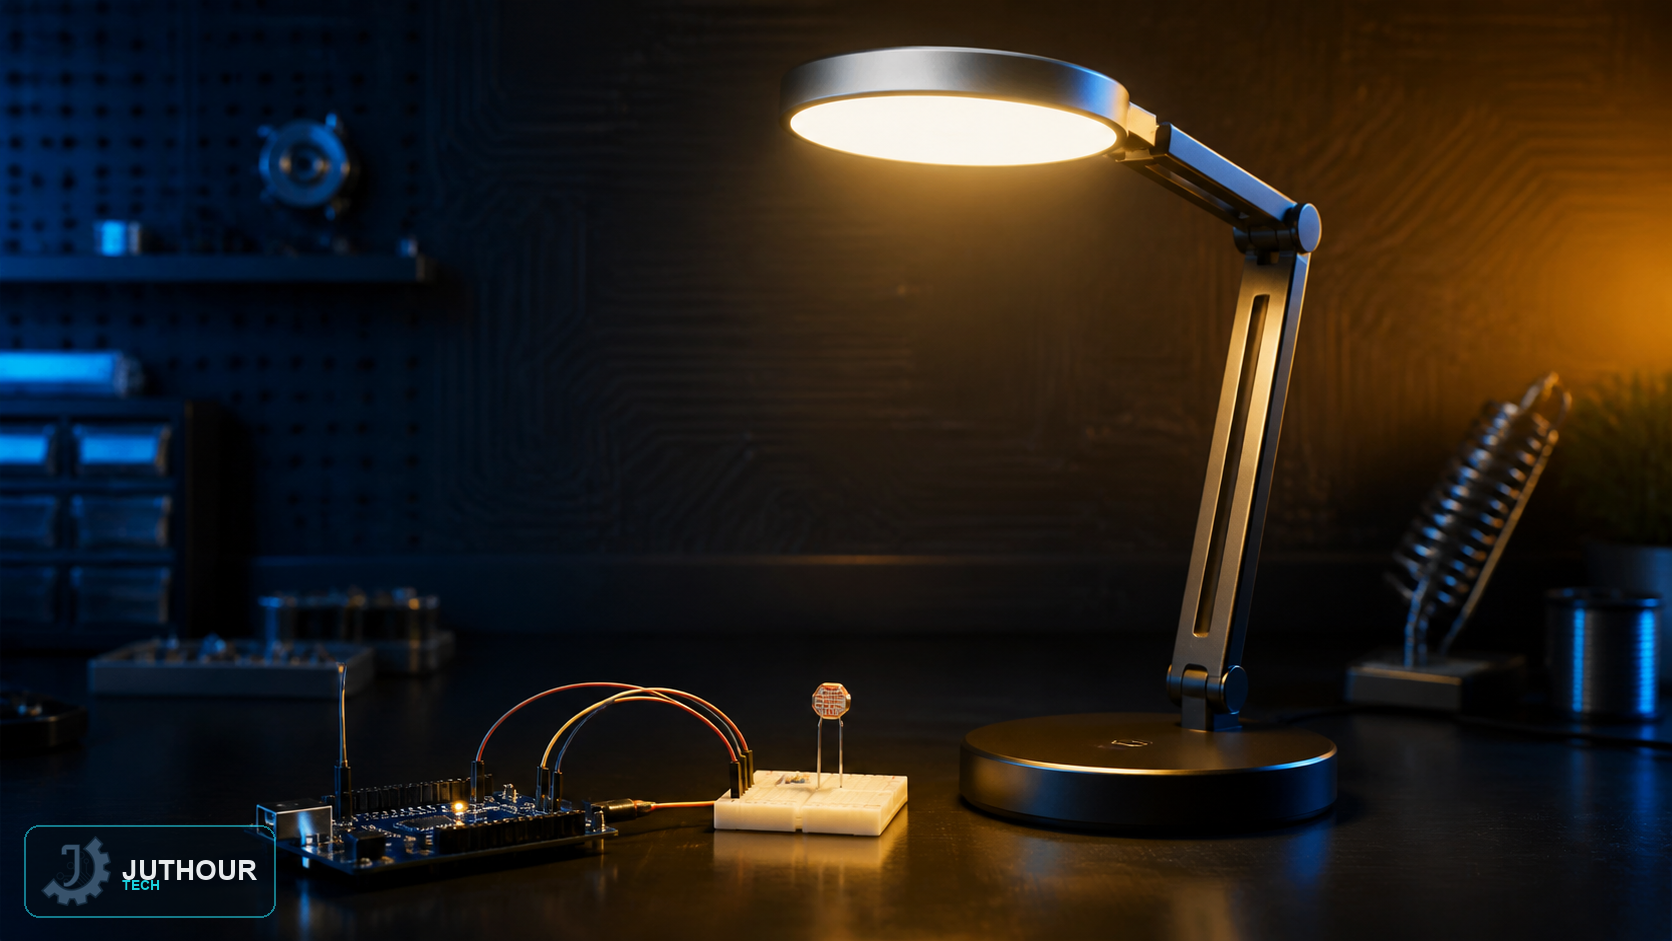
Instead of controlling an RGB LED's color manually with a remote as in an earlier project, this project builds an ambient light that changes color automatically in response to the room's surrounding light level, relying on three light sensors instead of just one.
Components needed
An Arduino Uno board, three LDR light-dependent resistors, a common-cathode RGB LED, resistors to protect the LED and build voltage-divider circuits for the sensors, and a breadboard.
Wiring it up
The three LDRs connect to analog pins A0, A1, and A2 (each within a voltage-divider circuit paired with a fixed resistor), while the LED's three pins connect to PWM pins on the Arduino: red to pin 11, green to pin 10, and blue to pin 9.
How it works
The code continuously reads the three analog values from the LDR sensors, each ranging from 0 to 1023 depending on the light intensity falling on its corresponding sensor. Each value is converted via map() into a brightness level between 0 and 255 suitable for analogWrite(), and the three resulting values are sent directly to the LED's three channels (red, green, and blue). The result is that any change in ambient light — another lamp turning on in the room, or shifting daylight — is immediately reflected in the displayed color mix, so the lamp's color changes dynamically with no manual intervention from the user.
You can find LDR resistors and RGB LEDs at Juthour Tech.
اترك تعليقا