
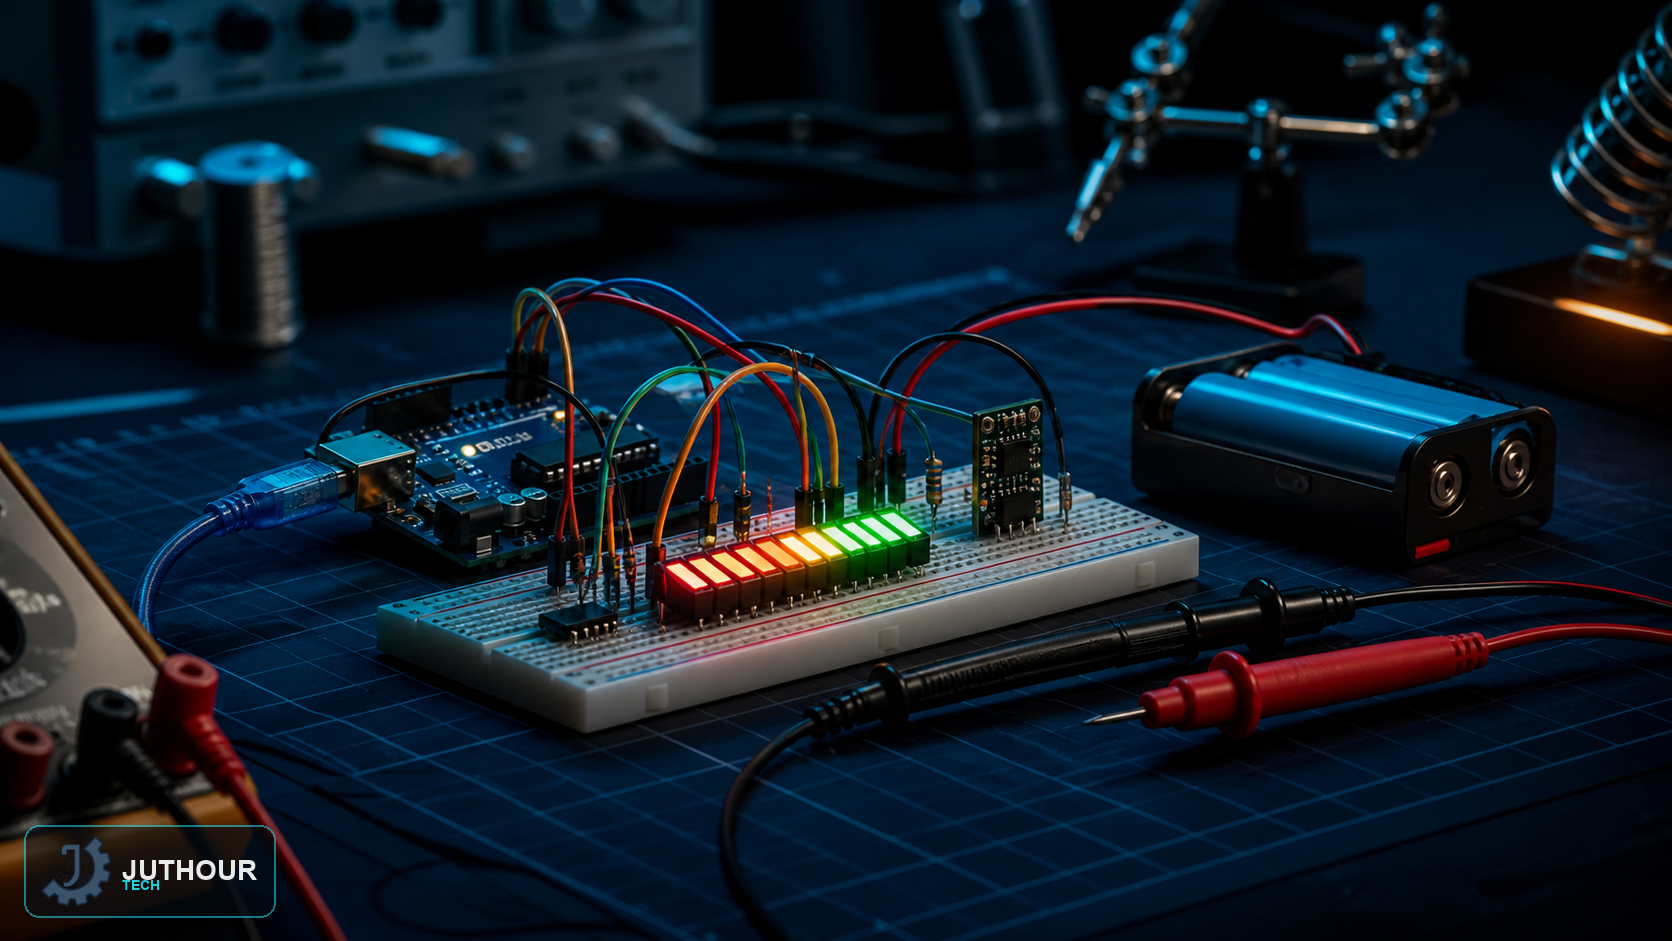
Our earlier Arduino voltmeter article showed a precise numeric reading; this project trades some of that precision for something faster to read at a glance — a 10-segment LED bar that fills up progressively as battery voltage rises, alongside an LCD for the exact number.
Components needed
An Arduino Uno, a 10-segment LED bar graph module, an LCD display (direct-wired or I2C), current-limiting resistors for the LEDs, a potentiometer for bench-testing the circuit before connecting a real battery, and connecting wires.
Wiring it up
The battery voltage being measured connects to one of Arduino's analog pins (through a voltage divider first if it exceeds 5V). Each of the LED bar's 10 segments connects, through its own resistor, to a separate digital output pin. The LCD connects following whichever wiring its module needs.
How the reading converts
The voltage divider sets the highest battery voltage that can reach the ADC safely. Calculate from measured resistor values, measure the reference, and calibrate against a multimeter. Battery voltage does not map to one universal linear state-of-charge percentage; the curve depends on chemistry, load, and temperature.
Driving the LED bar
The 0-5V range is split into 10 equal steps of 0.5V each. The code compares the measured voltage against each step's threshold and turns on every LED up to and including the highest threshold the voltage has crossed — so a higher voltage always means more LEDs lit, giving an instant visual read of roughly how charged a battery is without doing any mental math.
You can find LED bar graph modules and LCD displays at Juthour Tech.
اترك تعليقا