
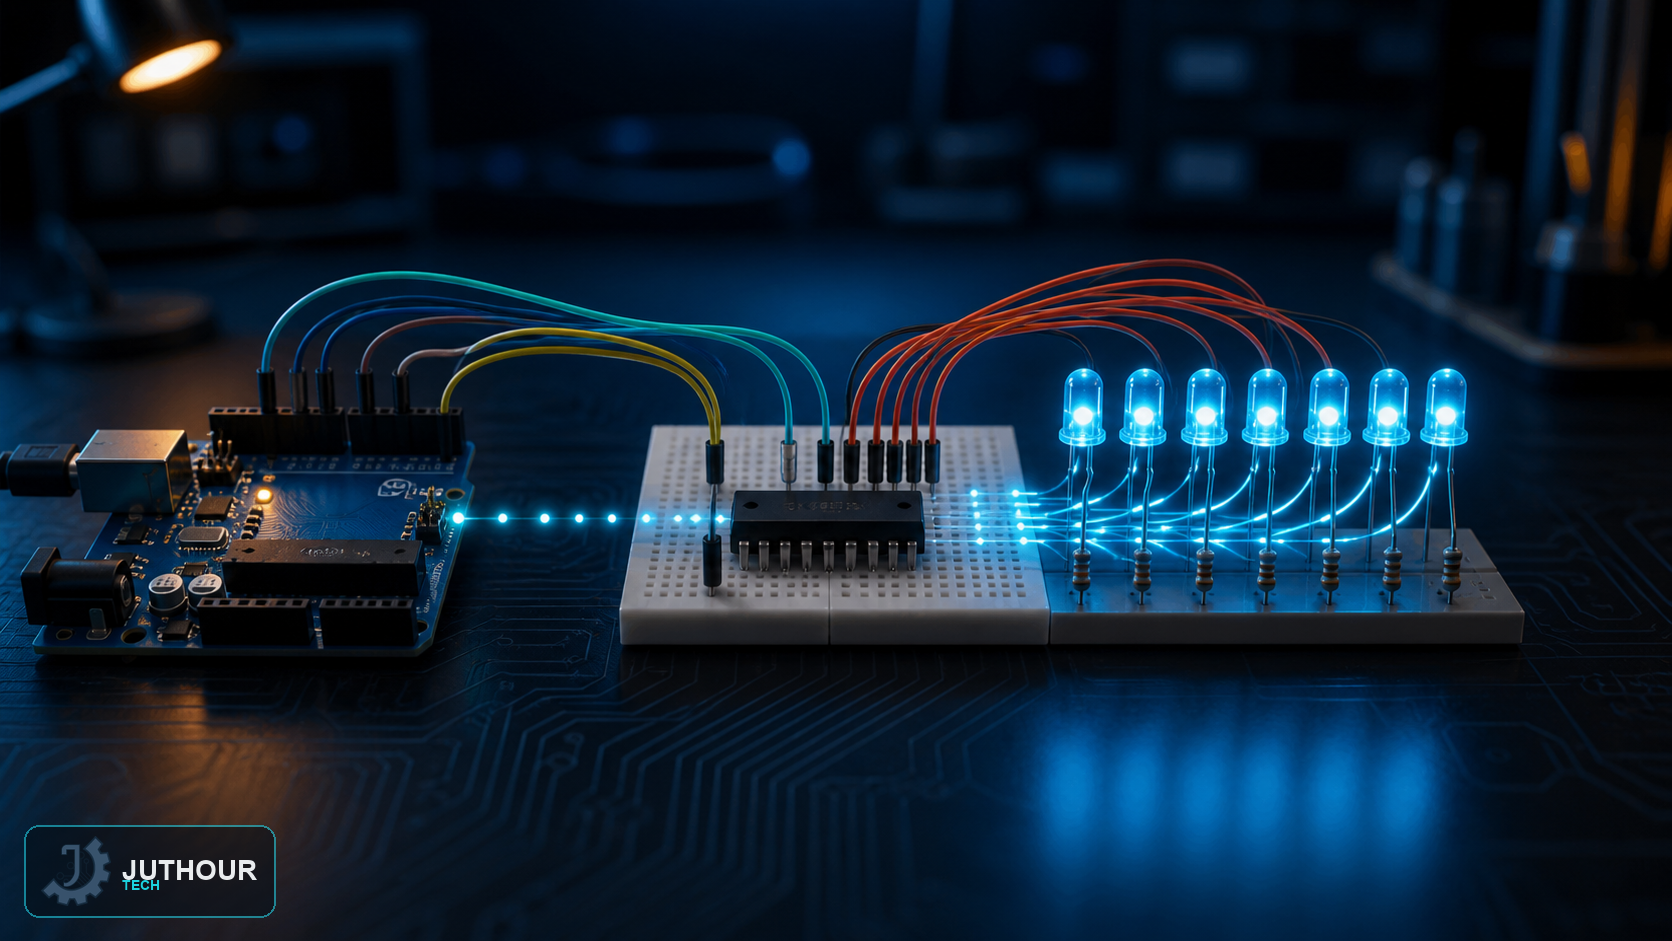
When you need to control a large number of outputs (LEDs, for example) without using up a large number of Arduino pins, the 74HC595 chip offers an elegant solution: controlling eight independent outputs through just three pins.
Components needed
An Arduino Uno board, a 74HC595 shift register IC, eight LEDs with their resistors, and connecting wires.
Wiring it up
The chip connects to Arduino through just three digital pins: the data pin (SER) for feeding bits in one at a time, the clock pin (SRCLK) for synchronizing each bit's entry, and the latch pin (RCLK) for transferring the accumulated data all at once to the eight outputs (QA through QH), plus power and ground pins.
How it works
The chip acts as a serial-to-parallel converter, relying on two internal 8-bit storage stages. With each clock pulse, the internally stored data shifts one position over so the pin can receive a new bit from the data line; after eight full bits are collected, a pulse on the latch pin transfers this data all at once to the eight outputs so they all update simultaneously. Multiple 74HC595 chips can be daisy-chained together to control even more outputs without adding any new Arduino pins.
You can find 74HC595 shift registers and LEDs at Juthour Tech.
اترك تعليقا